Are you looking for a way to add a little fun to your child’s lunch? Do you want to do something special to remind them that you love them and are thinking about them when they are off at school? These chalk bunting love notes are a great way to share a loving message with them when you can’t be together.
[include id=”6″ title=”inside post ad”]
They are quick and easy to make so you can stitch together several garlands all at once. Stash them away until an occasion comes along when you know your child could use a positive message to brighten their day!
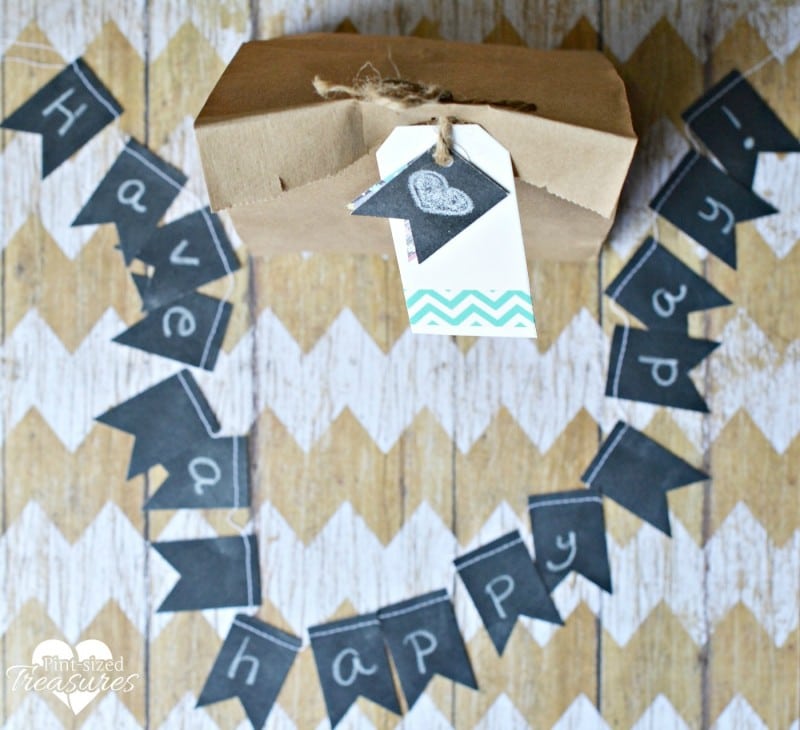
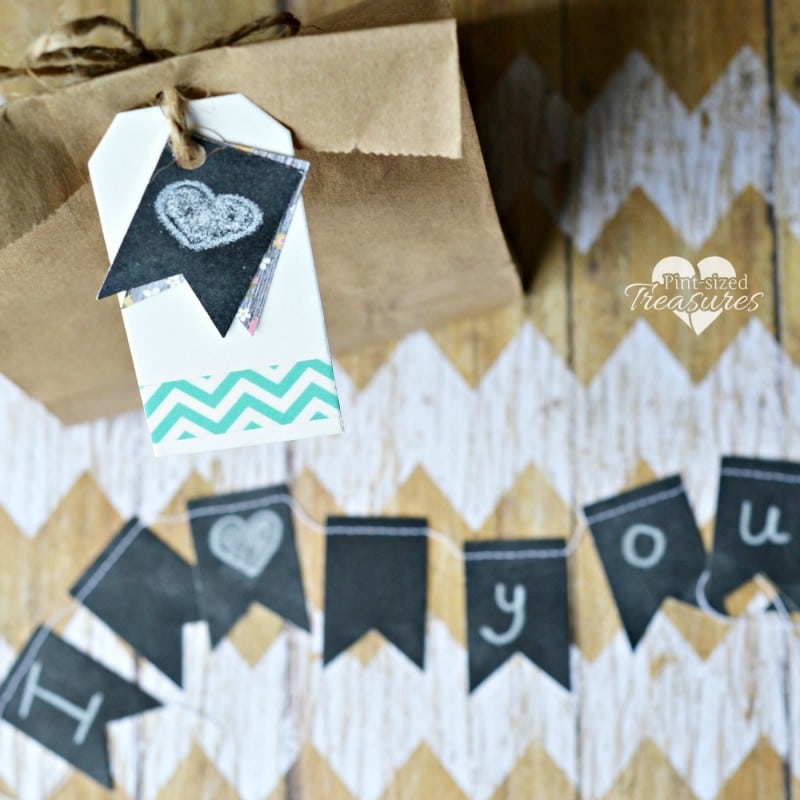
“I love you!” “I’m praying for you!” “Have a happy day!” These are just a few message ideas you could use. And your chalk messages make perfect garlands for your child to save and hang up afterwards. Then they can view your words of affirmation again and again!
Your child’s lunch is a perfect place to stash this unique note, but these chalk messages can also be used for other times that your child is away from you and you’re looking for a fun way to remind them that you are thinking of them! Does your child attend an all-day home-school co-op? Are they headed off to camp? I bet they would love the surprise of finding one of these!
Read to make a few? Here’s how!
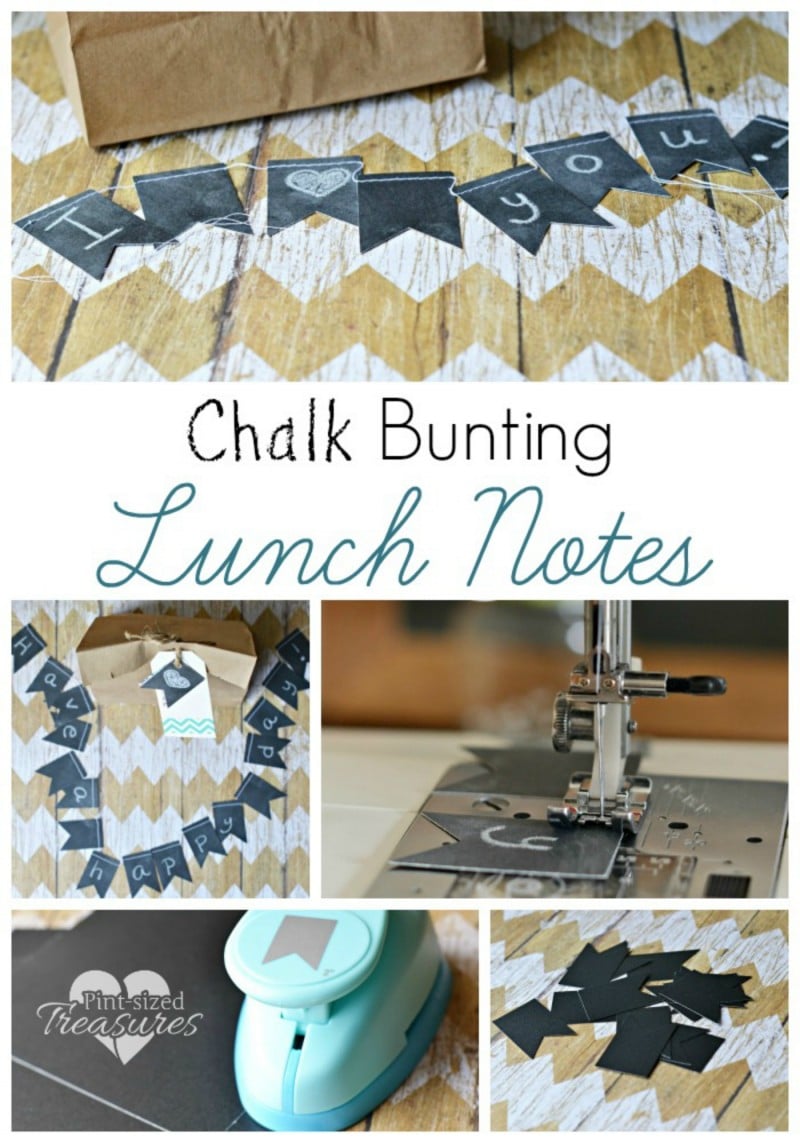
Chalk Bunting Lunch Notes
Materials:
- chalk paper
- pennant punch
- chalk
- cloth or paper towel
- white crayon
- sewing machine
- basic sewing supplies (thread, scissors…)
Directions:
- Using the punch and chalk paper, cut out several pennant flag pieces.
- Prime your pieces of paper by rubbing a piece of chalk over each one and wiping it clean with a dry cloth. This will give them the appearance of a well used chalkboard.
- Since chalk rubs off easily, I decided to write out the messages with a white crayon. This will preserve your writing so there is no need to worry about your words disappearing before they are read. I laid several pieces out and spelled out my messages by adding one letter to each piece. A blank pennant piece was placed in between each word.
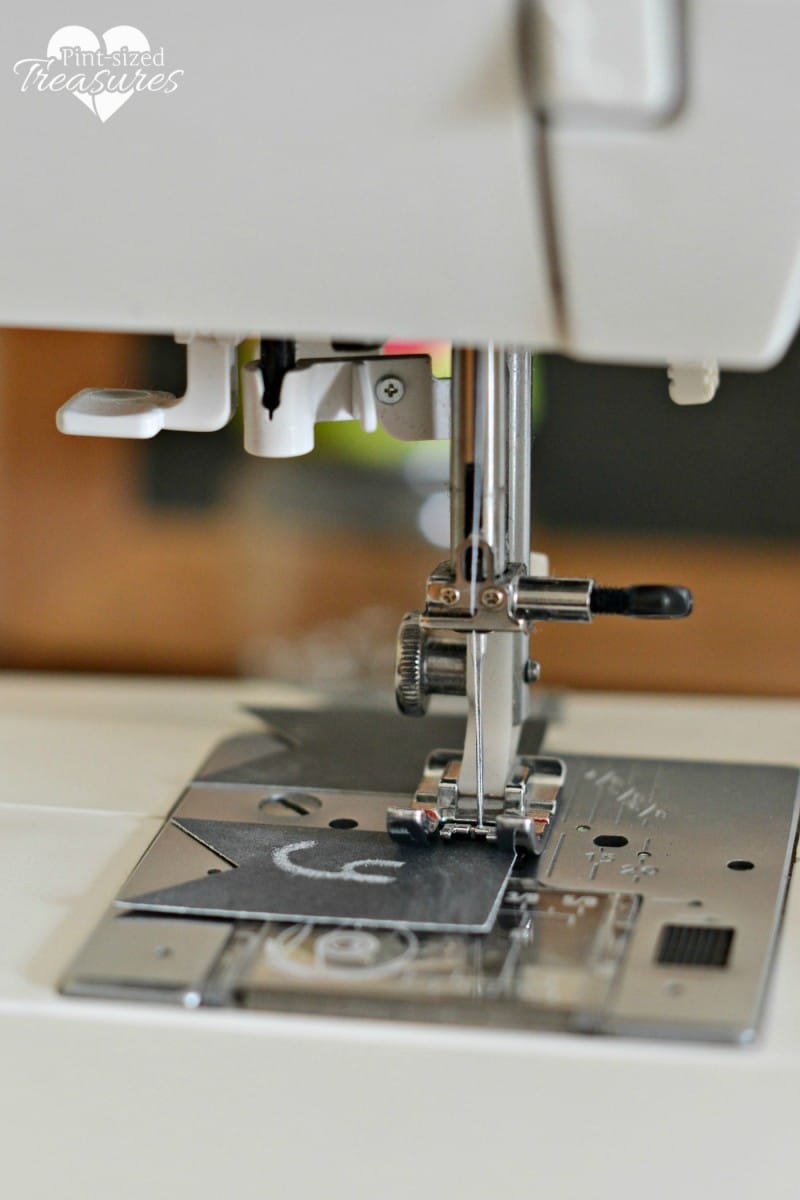
- Stack up all of your pieces in the correct order.Place the first pennant into the sewing machine and stitch across it matching the top edge of the pennant to the edge of the presser foot. Tip: When sewing through paper it is a good idea to adjust the tension down a bit. You’ll also want to designate one sewing needle as your paper needle. Sewing through paper quickly dulls your needle, so you don’t want to later use that same one on fabric.
- Sew a few stitches past the pennant and place the next piece under the presser foot. Continue sewing across the tops of the pieces leaving a few stitches in between each one.
- Once you have sewn through the final piece, pull the bunting out of the machine and snip the loose threads leaving tails on each end that are a few inches long.
- Fold the pennant flags on the bunting back and forth on each other like an accordion. Secretly tuck it away in your child’s lunch or bag for them to find.
*Affiliate links have been added so you can make the perfect bunting!*