Pumpkins abound during the fall months!
They show up in recipes, home decor, crafts, and more!
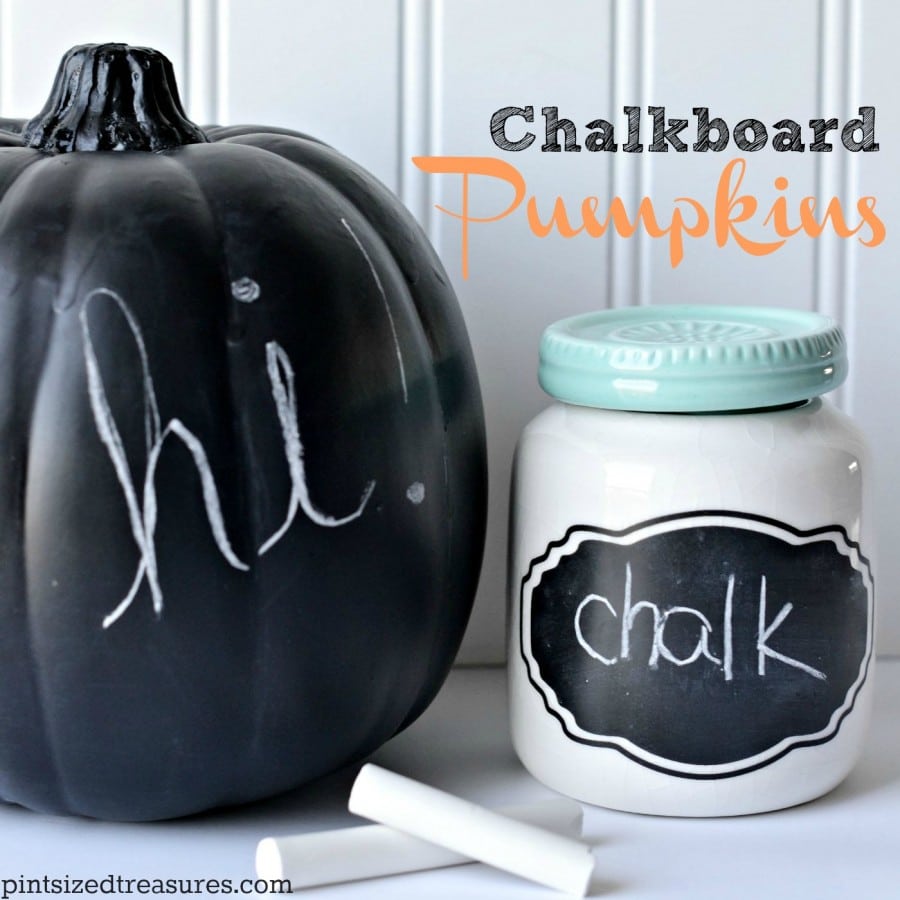
If you’re a pumpkin fan, you’ll love these DIY chalkboard pumpkins that kids and even adults will love to doodle and draw on.
It’s simple to make and perfect to use year after year.
As easy as they are to make, why just stop at creating one?
You can quickly create several to scatter around the house for decoration.
They’re an inexpensive way to make a big impact and add a conversation piece to your home this season.
I’m up for anything that sparks fun chats with family and friends! <3
Love no carve pumpkin ideas?
I do too!
Draw faces on them or words and phrases like “Gather”, “Blessings”, and “Happy fall!”
Make one for each of your kids to draw on and decorate.
Then, they can write and erase phrase after phrase.
Think extra spelling practice the super-fun way!
Now that’s how I like my kids to learn!
Whether you use them for fall decor or a fun, fall activity for the kids, this easy craft is sure to be a big hit!
Ready to make your own. Gather the materials below and keep reading!
DIY Chalkboard Pumpkins
Supplies needed:
- artificial pumpkin
- sandpaper
- paper, cardboard, or cloth covering to protect your area
- quality chalkboard spray paint
- soft cloth
- chalk
Directions:
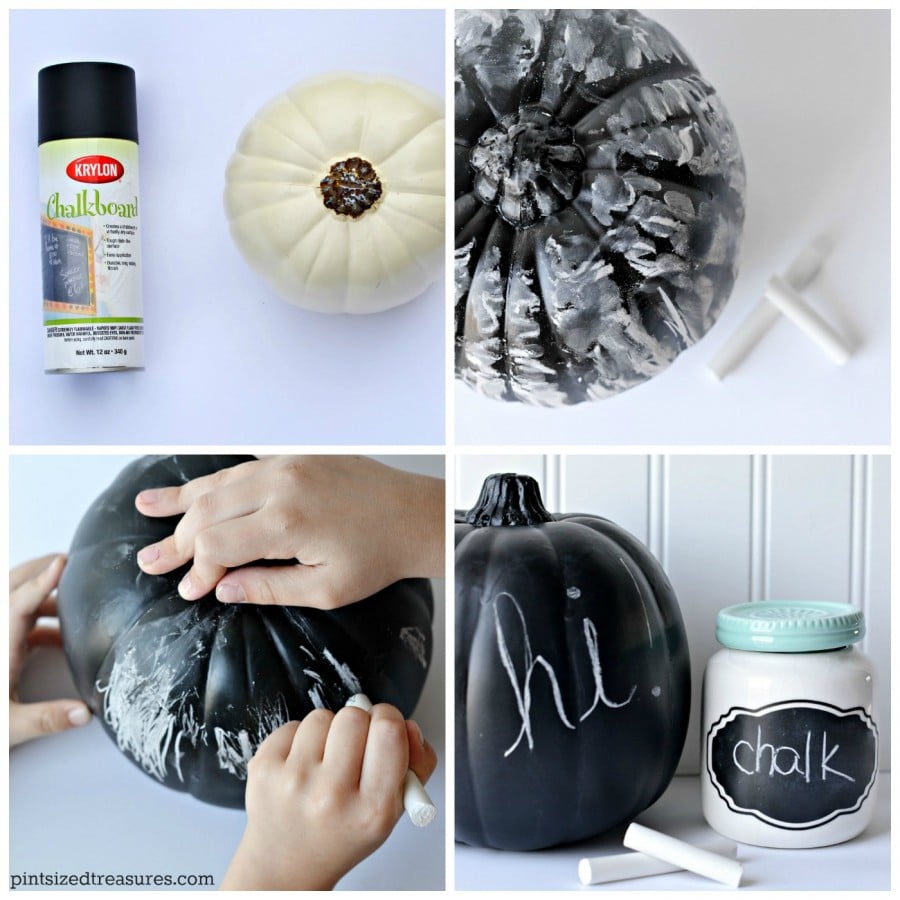
- If you are using an artificial pumpkin that has a glossy finish, lightly sand it until it appears dull. Make sure to wipe off all of the dust from sanding so you’re left with a clean surface to paint.
- Find a well-ventilated area and lay down a covering to protect the surface you’ll be painting on.
- Shake up your can of spray paint for about 2 minutes before using it. Spray 2-3 light coats of paint over the entire surface of your pumpkin allowing it to dry between each coat. Light coats are key to ensure minimum drying times. (Tip: Spray one side and let it dry before turning the pumpkin over to get the other side.)
- Allow your pumpkin to dry for at least 24 hours before using it.
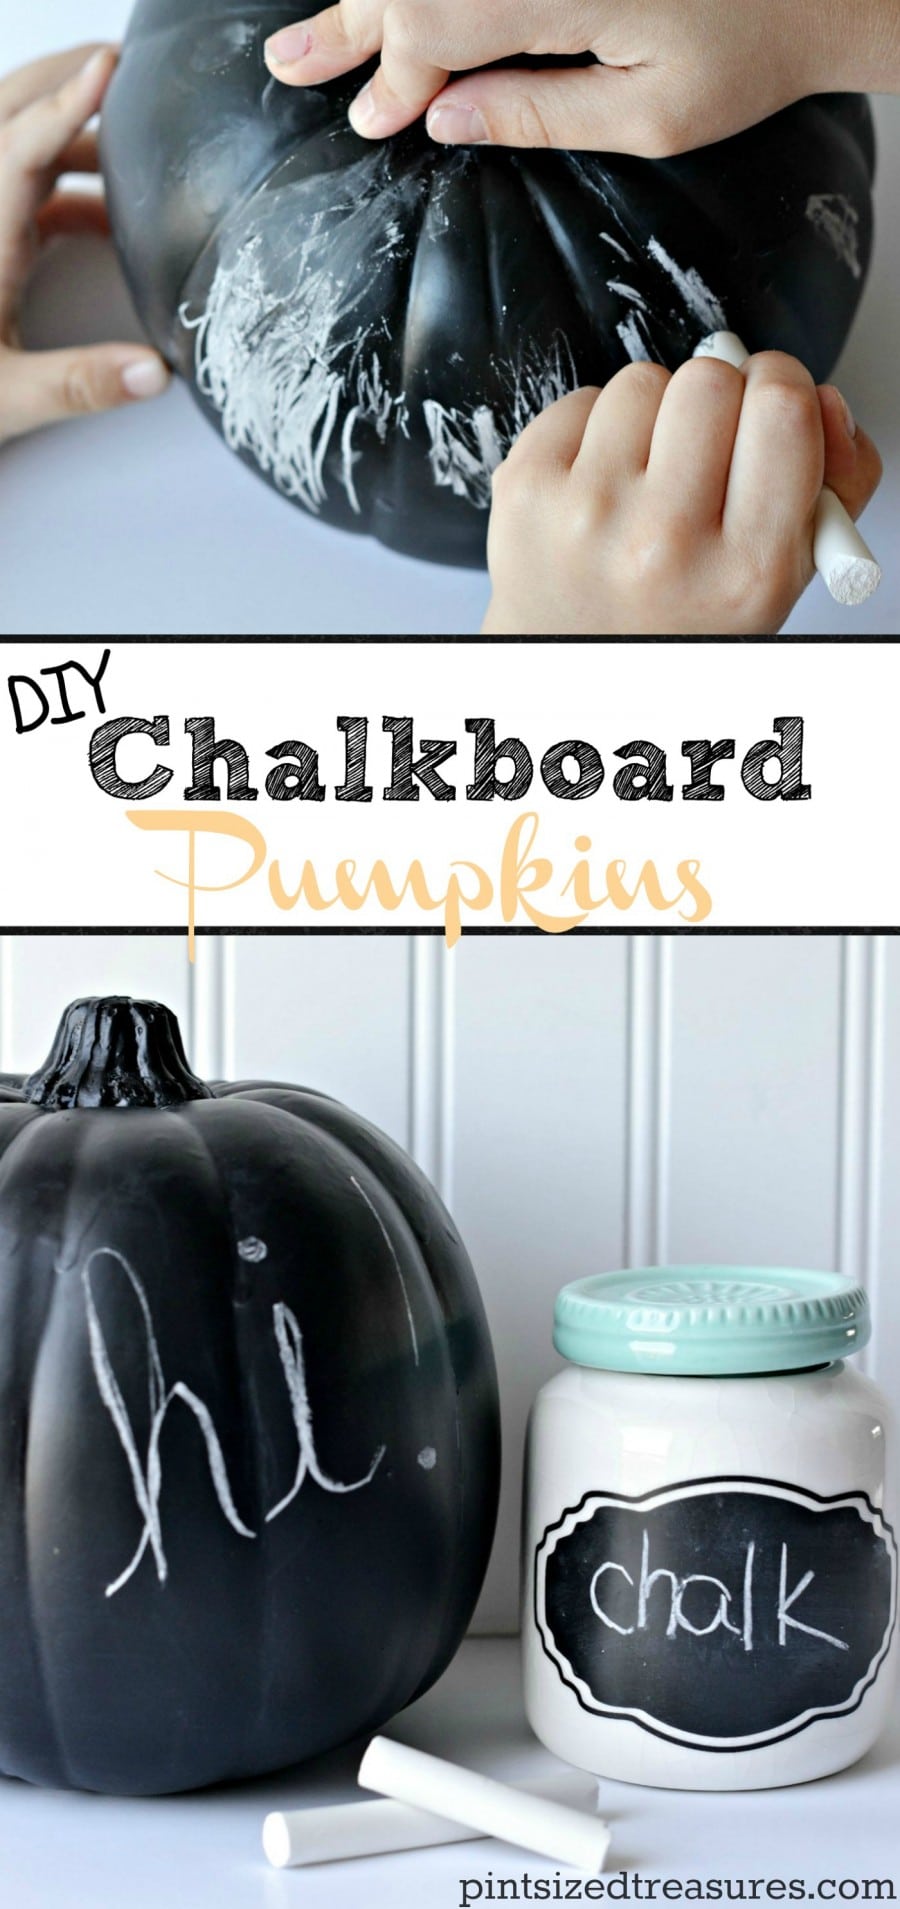
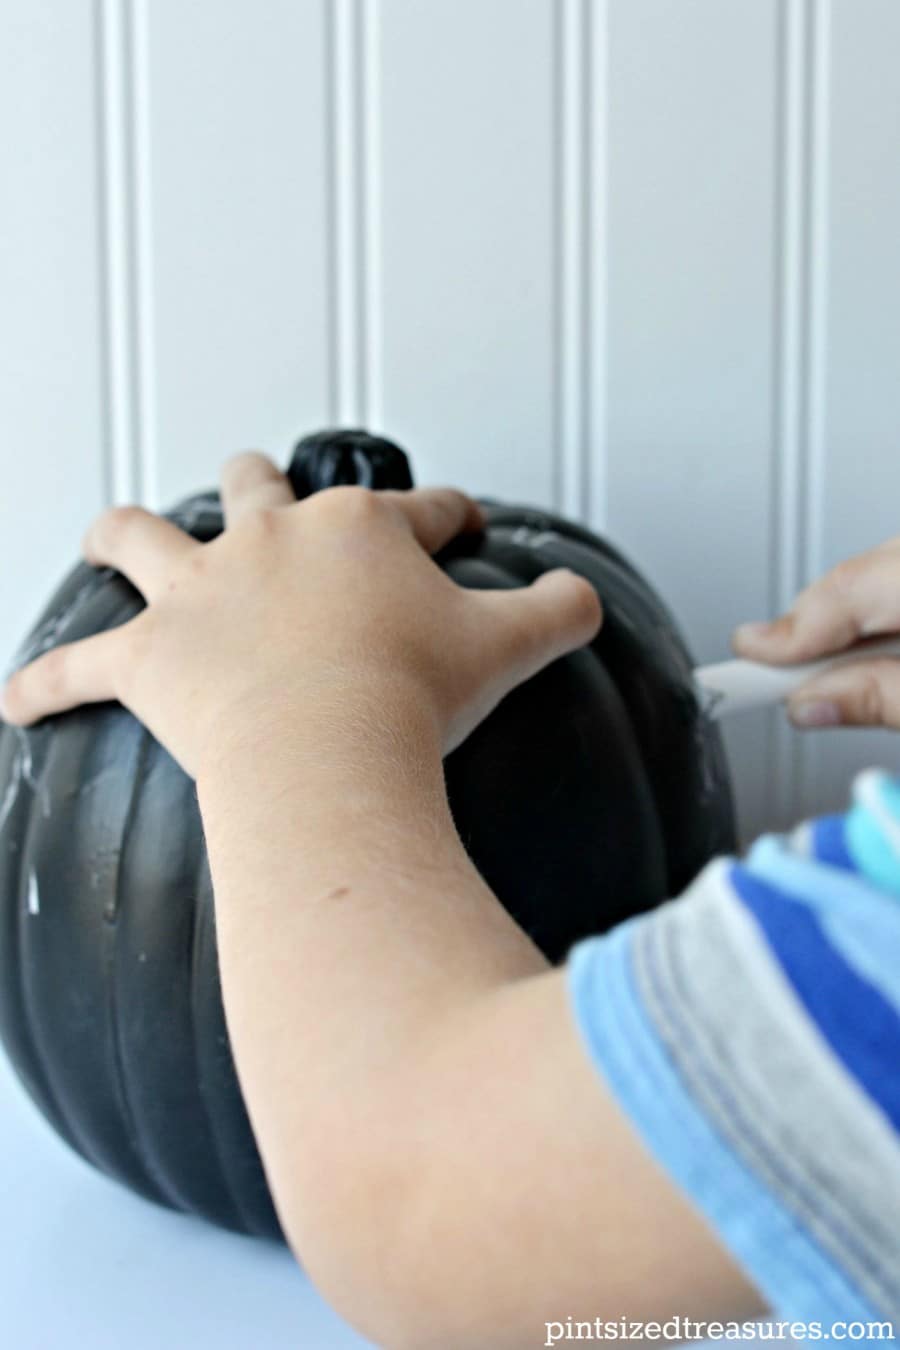
- Once your pumpkin is completely dry, it’s time to prime it with chalk. Chalkboard mediums are porous. It’s important to prime the surfaces, so the first thing you draw doesn’t become a permanent “ghost” image. Simply rub a piece of chalk over the entire surface. Use a dry cloth to work the chalk into the pores of the paint and rub the excess off. Wipe the pumpkin clean with a damp cloth and let it dry.
- Enjoy drawing and doodling on your chalkboard pumpkin.
In a nutshell, you simple prepare, paint, prime, and play! That’s it! Now you have a fun chalkboard surface that fits this wonderful, fall season.
*Affiliate links have been added to help you create your chalkboard pumpkins!*