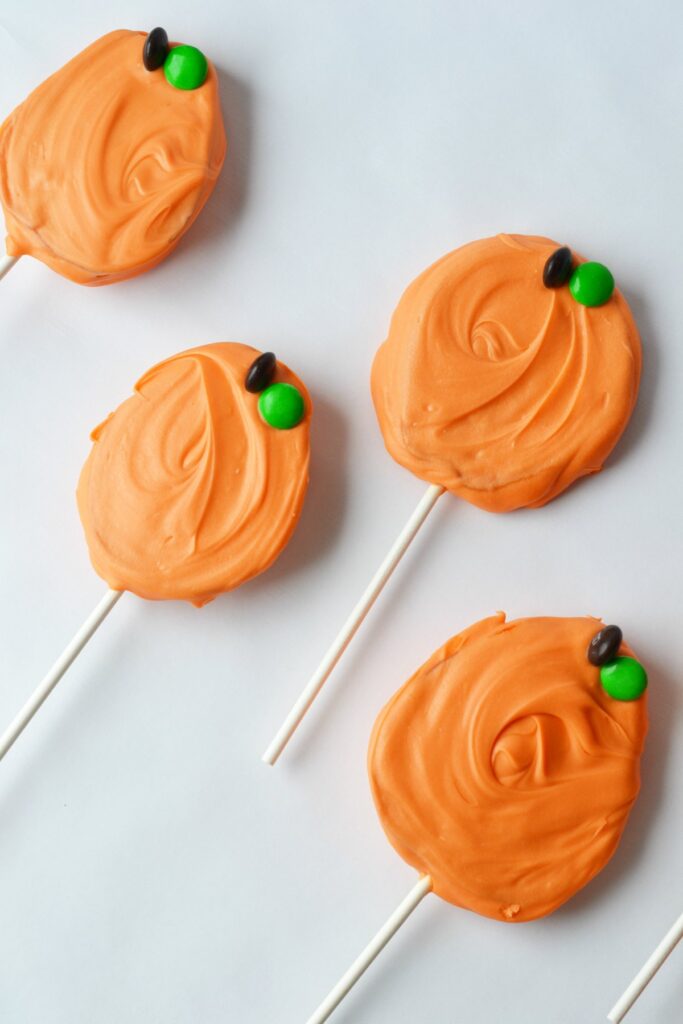
These chocolate-dipped apple pumpkin pops are apple slices that are dipped orange chocolate and dressed up as cute little pumpkins. It’s a fun, no-bake fall treat that comes together in minutes, and it’s simple enough for kids to help.
Some of the best fall treats aren’t fussy at all. This one is proof.
You take apple slices, coat them in orange chocolate, and add a couple of candies for a stem and leaf. That’s really all it takes to turn an ordinary apple into a little pumpkin.

There’s no oven and no baking involved, which makes it a great project to do with kids. It’s festive enough for a fall treat for the classroom, and wholesome enough that you won’t mind kids enjoying one.
What Makes These Chocolate Pumpkin Apple Slices So Fun
They’re genuinely no-bake. A microwave and a few minutes are all you need.
They’re kid-friendly from start to finish. Little hands can help dip the slices and press on the candies.
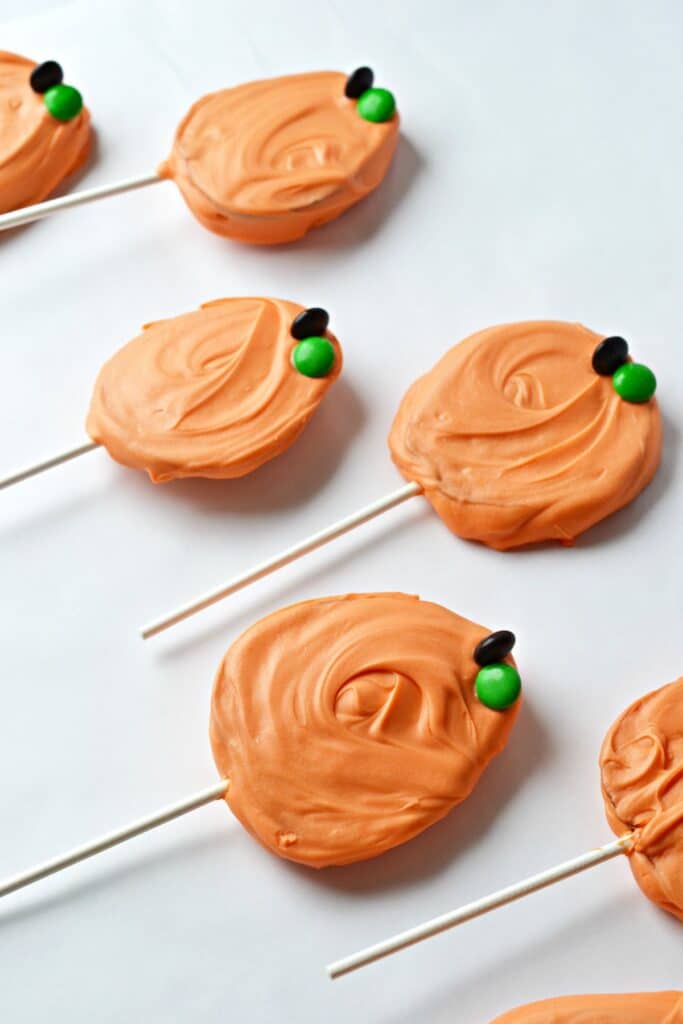
They strike a nice balance, too. There’s real fruit under that chocolate, so they feel a bit more wholesome than pure candy.
And they’re adorable. The orange coating with a little stem and leaf makes each slice look like a tiny pumpkin.
Making The Chocolate Pumpkin Pops
This comes together quickly, so it helps to have everything ready before you start.
- Cut your apples into half-inch slices, remove the seeds, and pat them thoroughly dry. Dry slices are important here, since chocolate won’t cling to a wet surface.
- Add the lollipop sticks. Cut a small slit in the bottom of each slice and slide in a popsicle or lollipop stick to make a handle.
- Melt the chocolate. Heat orange chocolate wafers in the microwave in short bursts, stirring between each one until smooth. Spoon the chocolate over each apple slice to coat it, then lay the slices on parchment paper.
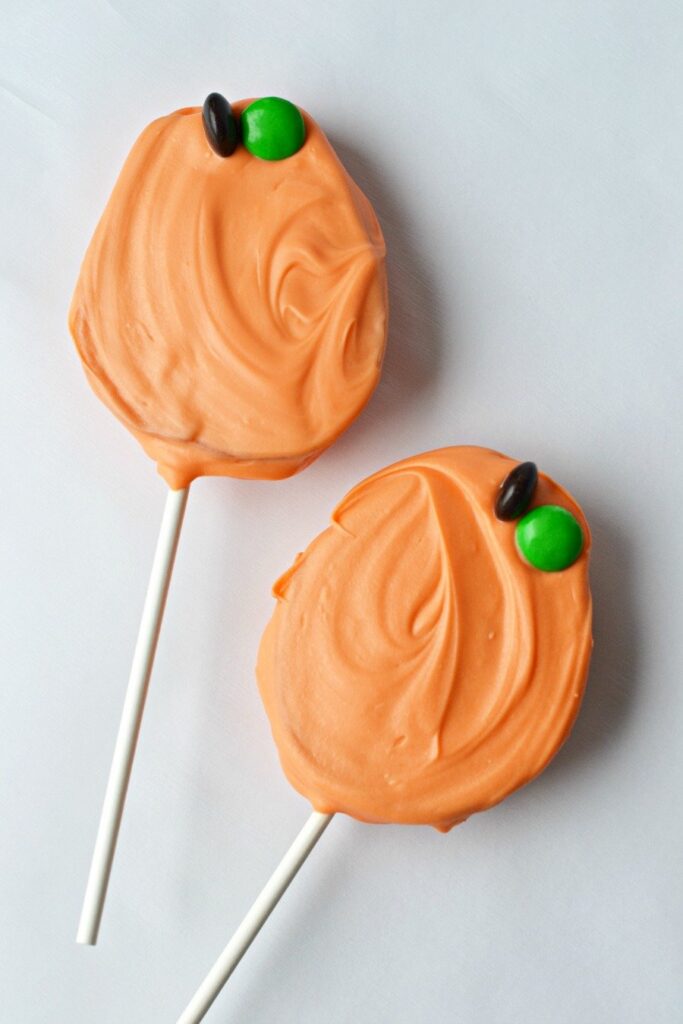
- Decorate! While the chocolate is still soft, press a brown candy at the top for a stem and a green one beside it for a leaf. Let the slices set completely before lifting them off the parchment.
Tips for the Best Chocolate Apple Slices
A couple of pointers for smooth results.
Dry the apples well. This is the single most important step. Any moisture and the chocolate will slide right off.
Add the candies quickly. The decorations need to go on before the chocolate sets, so keep them within reach as you work.
Serve them fresh. Chocolate-covered apples are best the day they’re made, before the fruit starts to release juice.
More Easy Halloween Treats
Looking for more festive fun? Try these next.
Set out a tray of these little pumpkins and watch them disappear.
Scroll down to print the recipe, and have fun making them together.
Print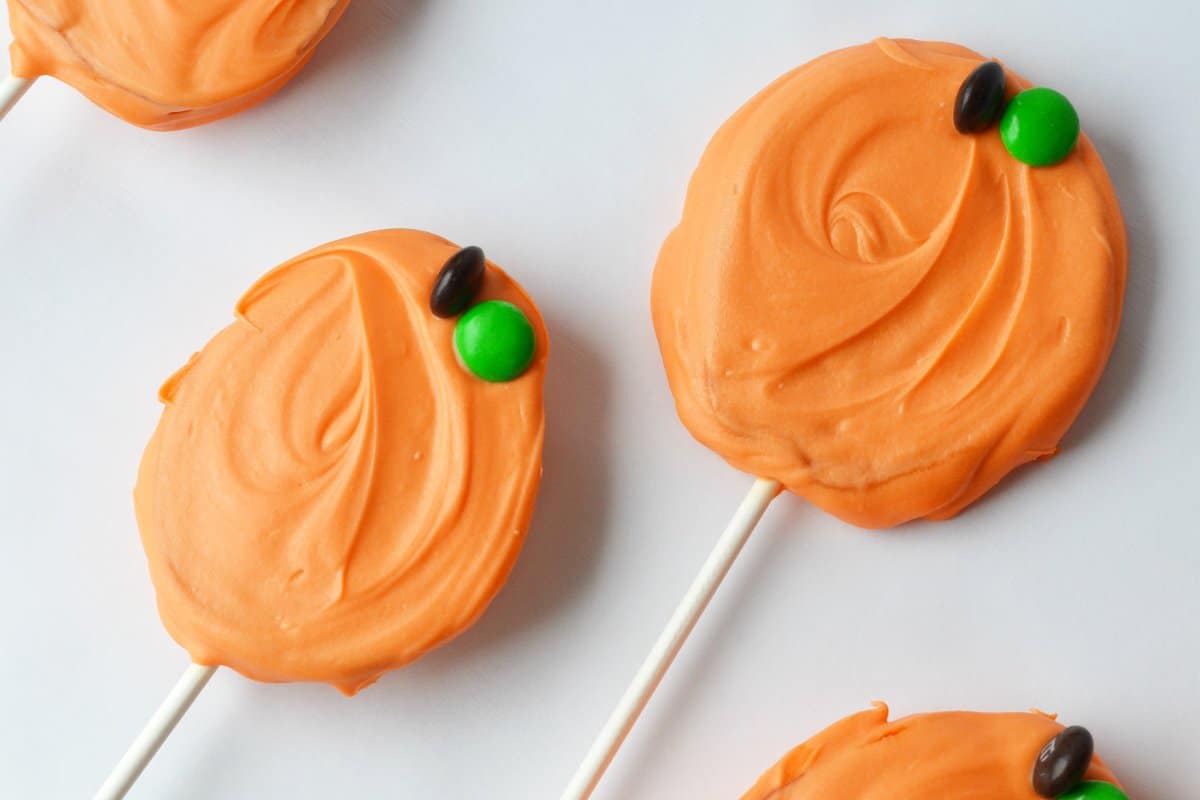
Chocolate Pumpkin Apple Slices
These chocolate pumpkin apple slices dip crisp apples in orange chocolate and dress them up as cute little pumpkins. A fun, no-bake fall treat that kids can help make.
- Prep Time 15 mins
- Cook Time 20 mins
- Total Time 35 mins
- Yield 16 slices 1x
- Category Snack, Snacks
- Cuisine American
Ingredients
- Orange chocolate wafers
- Apples
- Brown and green chocolate candies
- Popsicle or lollipop sticks
Instructions
- Cut the apples into ½-inch-thick slices.
- Remove the seeds and pat the slices dry.
- Use a knife to cut a slit into the bottom of each slice, then slide a popsicle or lollipop stick through the slit.
- Microwave the chocolate wafers in 15–30 second intervals until completely melted, stirring between each.
- Use a spoon to coat the apple slices with the chocolate, then lay them on parchment paper.
- Before the chocolate sets, place brown and green candies on top of each slice for the stem and leaf.
- Allow the chocolate to harden completely before removing the slices from the parchment. Eat and enjoy!
Notes
- Pat the apple slices very dry before dipping. Wet apples keep the chocolate from sticking.
- Work in small batches so the chocolate stays warm and coats smoothly.