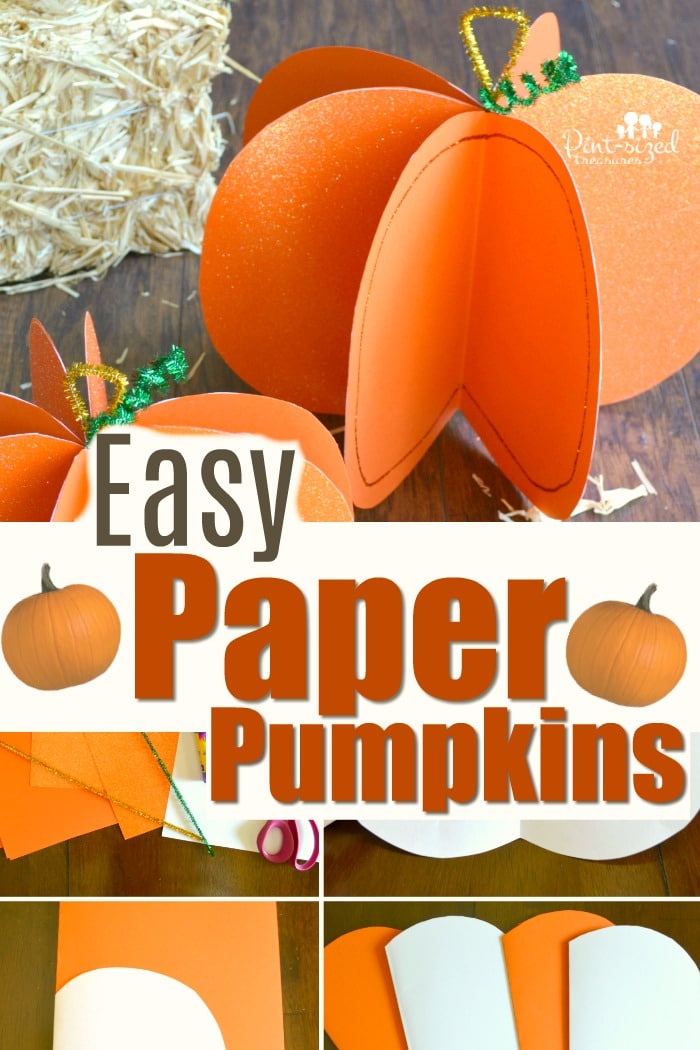
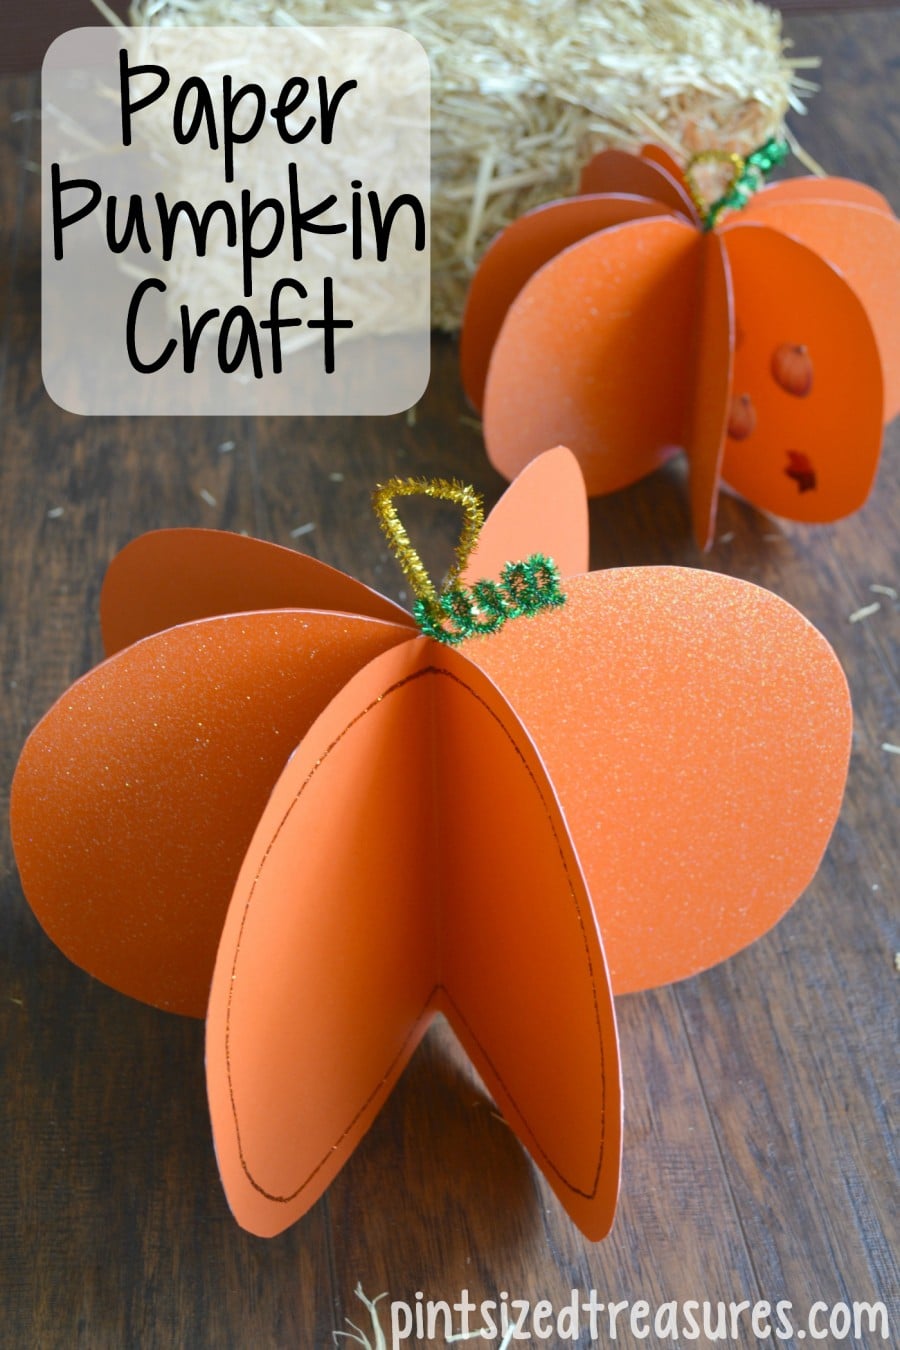
This easy paper pumpkin craft is simple to put together, looks cute and festive, and the best part?
It’s cheap!
All you need is paper, glue, and pipe cleaners.
Any easy craft that you can whip up with materials around the house, is a winner in my book!
You can decorate these paper pumpkins however you want.
We opted for some glittery paper, and spiced them up with glitter glue and stickers.
It would also be fun to use patterned paper, different colors, or even adding pictures to make them more like a scrapbook decoration.

The options are endless!
Want More Pumpkin Craft Ideas
Chalkboard pumpkins are perfect for mom or kids! Much like this simple paper craft, chalkboard pumpkins can be used for decor, but also for craft time for kids!
They’re also perfect for writing seasonal messages like “Harvest Blessings” “Happy Fall Ya’ll” and “Be Thankful!”
Your kids can also practice writing spelling words or fall themed words with the chalk!
Glitter pumpkins are perfect for a parent or child who loves glitter!
But back to our super simple, paper pumpkins!
If you’ve got little ones putting these together, you’ll want to help out when they glue all of the sides together.
If you don’t line things up right, it might not look quite like a pumpkin when it’s done. I’ve learned from experience..ha!
But you can easily trim the edges to make things a little smoother — and prettier!
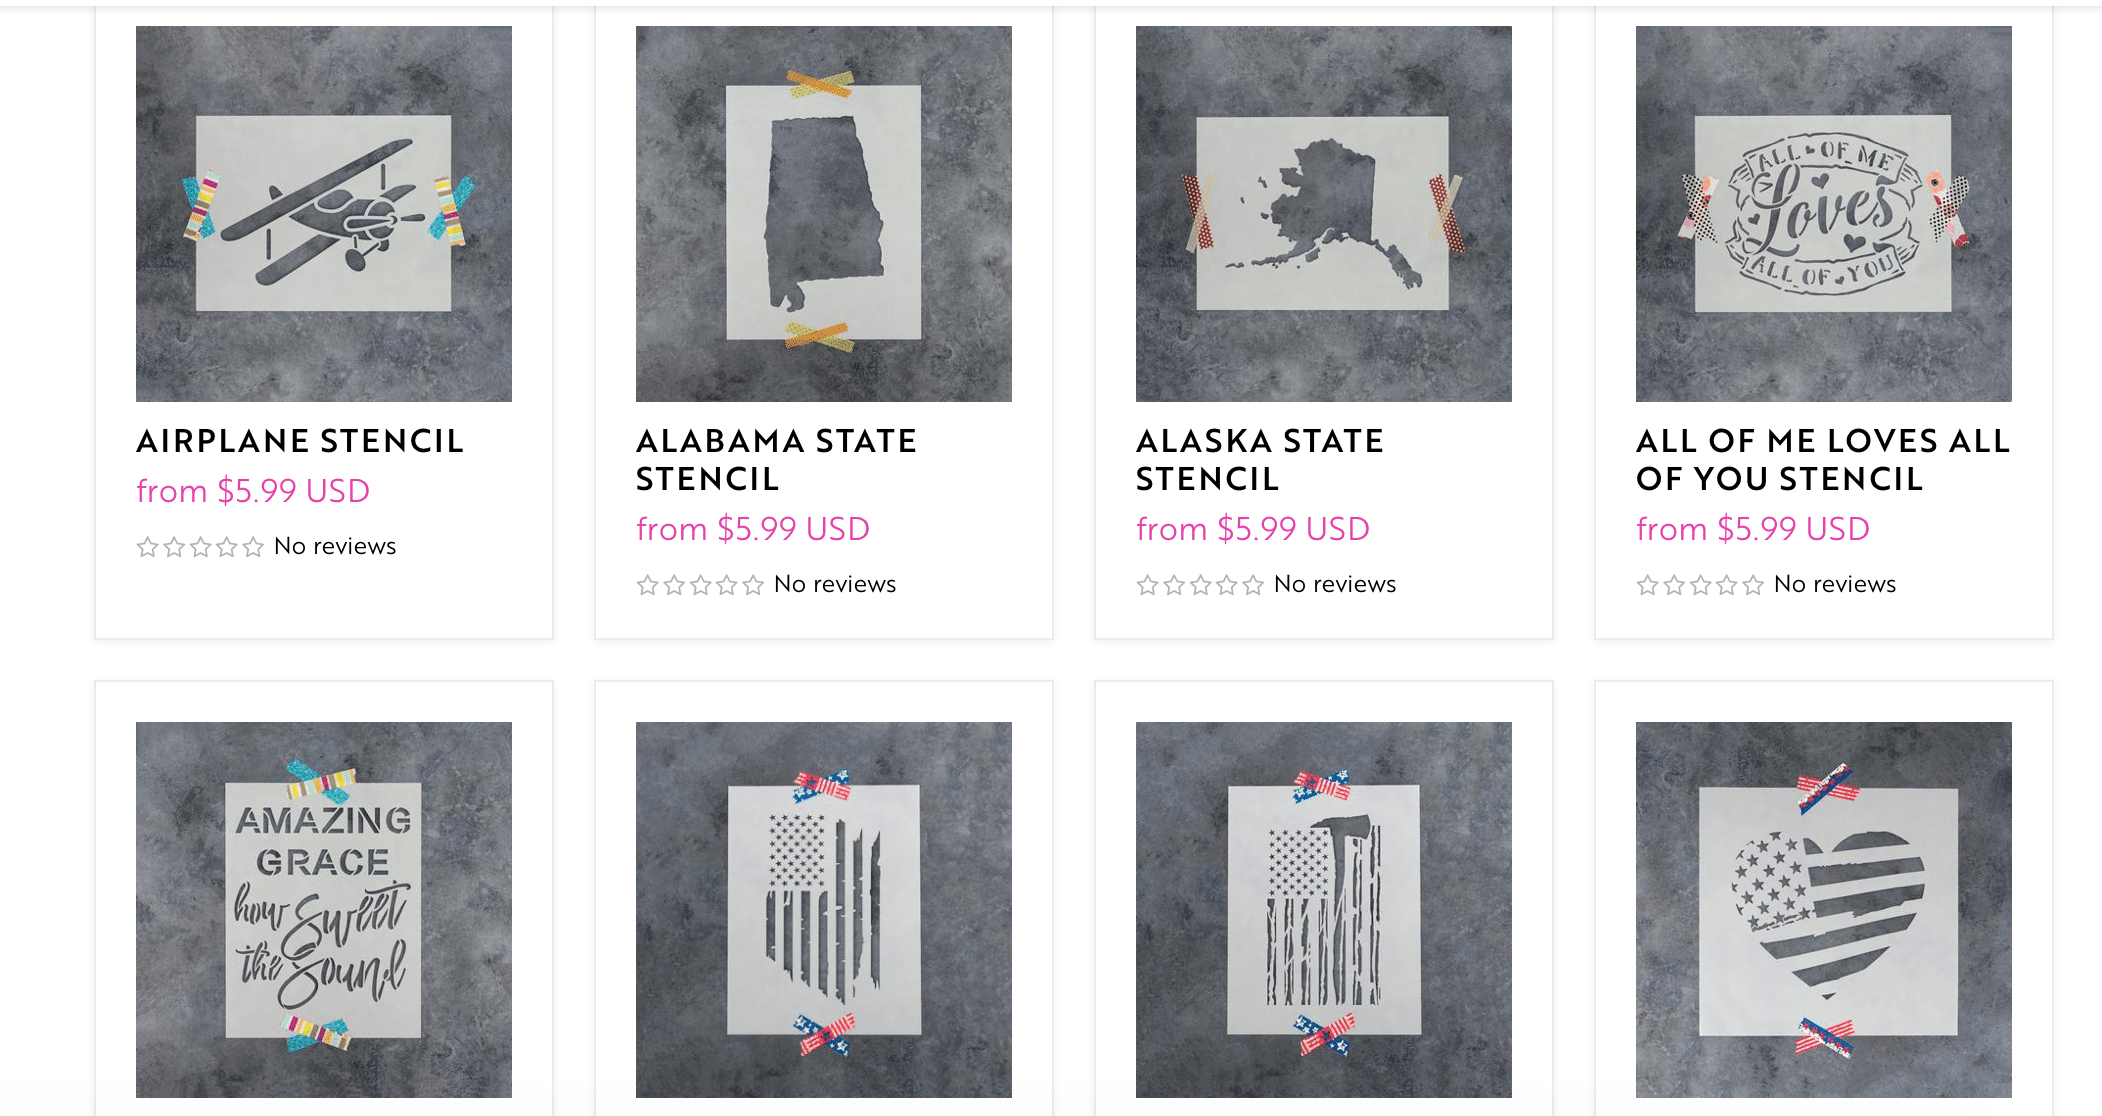
And if you LOVE making crafts or decorating your home with DIY projects, I highly recommend these stencils!
There are oodles of fun designs to choose from and they’re reasonably priced!
Check out my favorites in the picture below!

Now that you’re ready to make your easy paper pumpkins, here’s the instructions!
Easy Paper Pumpkin Craft
Supplies Needed:
- orange card stock/a><
- paper
- green and brown/gold pipe cleaners
- glue stick
- scissors
Directions:
- Grab a piece of regular paper and fold it in half. Cut out half of a pumpkin, so when you unfold it, it looks like a whole pumpkin (see above).
- Use this as a template, and cut out 6 pumpkins out of card stock – or as many as you’d like. Feel free to alternate colors/styles of paper, just make sure that when you fold the pumpkin over, the inside is the side you want to show.
- Glue the pumpkins together, one side at a time, and connect them in a circle. Trim any edges that may not line up perfectly.
- Roll the green pipe cleaner around a pen to make it curly, and stick it in the top of the pumpkin. Secure it with glue and trim to your liking.
- Bend the brown/gold pipe cleaner into a triangle, twisting the bottom ends together. Slide it in the top of the pumpkin and secure with glue.
- Keep your pumpkin plain, or decorate it however you wish – glitter, stickers, coloring, pictures, etc!
Will you be making this paper pumpkin craft soon?
Share your version of this fun craft with us on Facebook!
*Affiliate links have been added to help you make a super-cute, paper pumpkin craft!*

