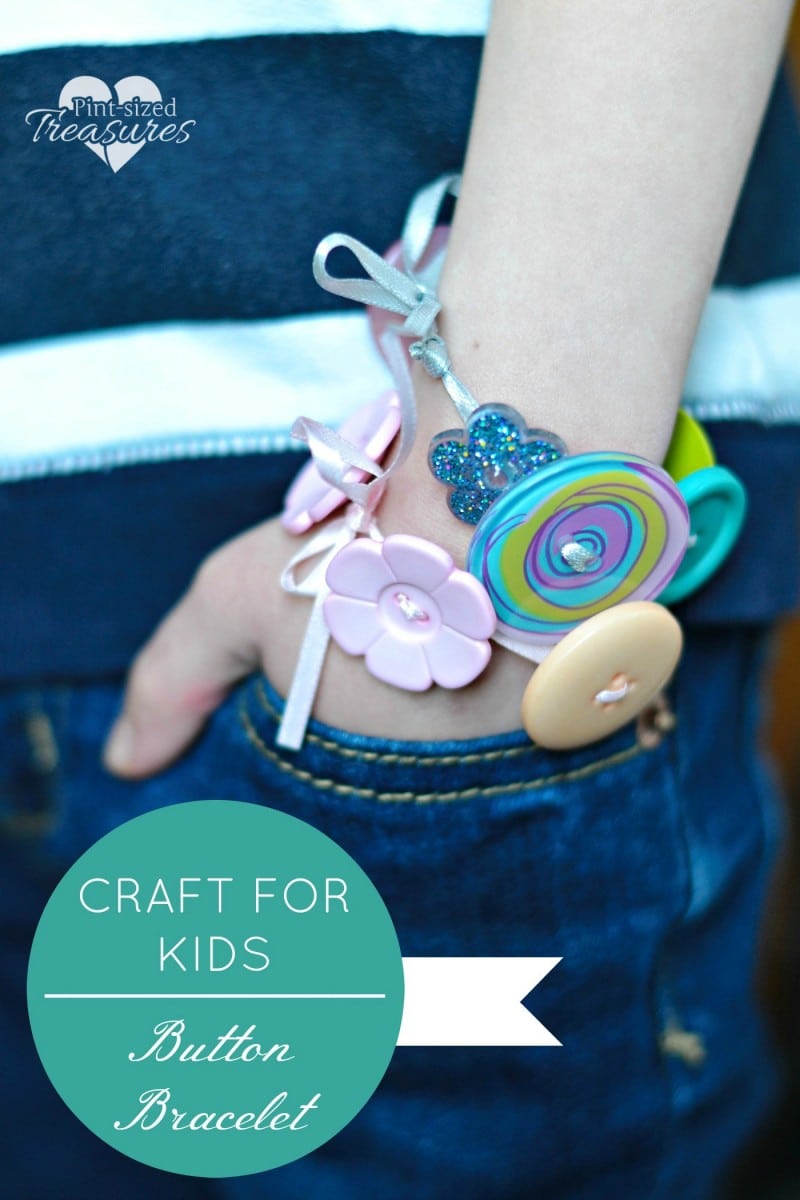
Crafting is one of my favorite things to do with my kids. And sometimes it is the simple crafts that require very few materials that are the most fun. Button bracelets definitely are super-easy to make, but loads of fun. With only three supplies, you can spend quality time with your kids while making this “cute as button” craft!
This easy button bracelet craft is not only fun to make, but the bracelets are fun to wear or give as simple gifts! Little girls always seem to enjoy giving gifts to their friends, and this is a sweet gift they can make on their own and give to a friend or neighbor.
Crafting with your kids doesn’t have to be time-consuming or stressful. In fact, some moms avoid crafts altogether because of the time, mess and materials involved! If you’ve never crafted with your kids, this is a great time to start. Plus, I bet you have lots of buttons sitting around the house! There really is a lot of fun memories in the making when you choose to craft with your kiddos!
Ready to connect with your kids and make something cutesy? Let’s go!
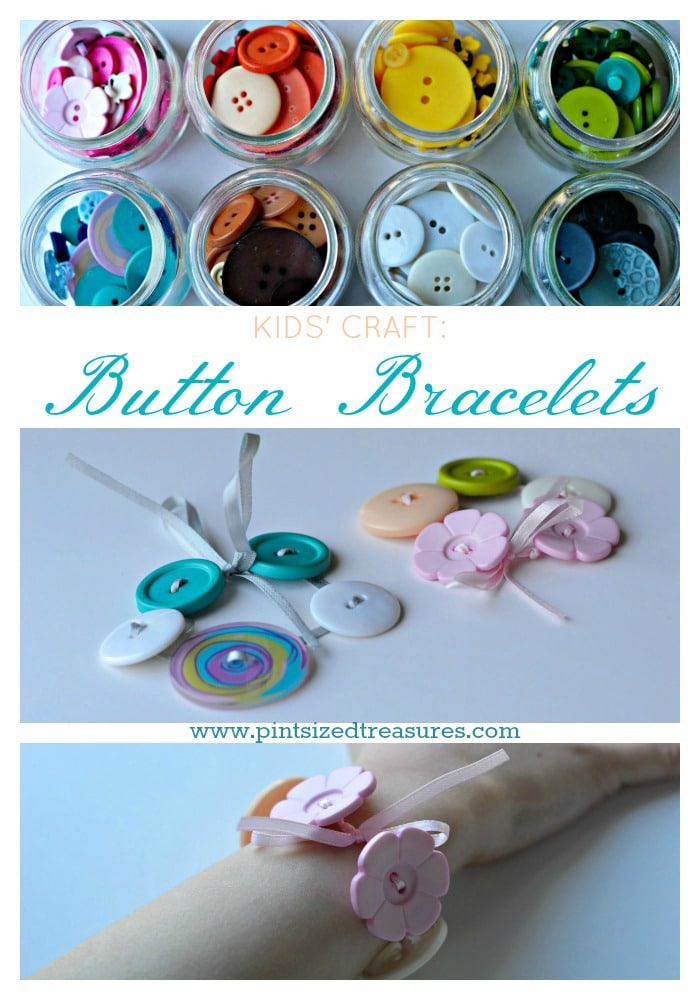
Easy Button Bracelets Craft
Materials Needed:
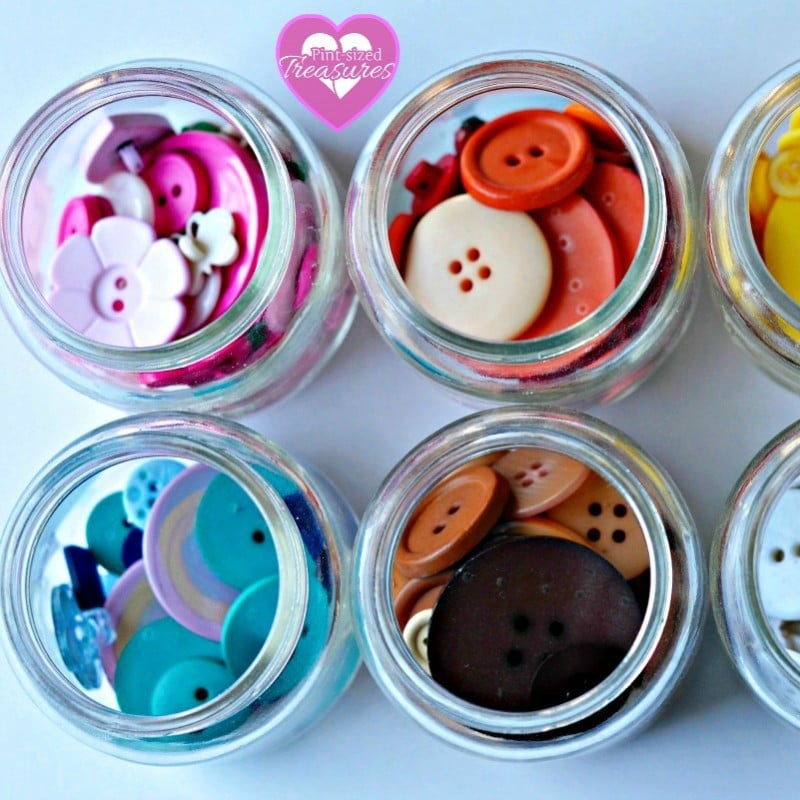
- buttons (Large buttons work best for this craft.)
- narrow ribbon
- tape
Instructions:
1. Gather your materials.
2. Lay out 5-7 buttons into a pattern.
3. Cut a piece of ribbon that is several inches longer than your wrist. Wrap one end of the ribbon with tape. Tie a knot on the other side a few inches up from the bottom of the ribbon.
4. Begin threading the buttons onto the ribbon. The tape on the lead end will help the ribbon easily thread through the holes on the buttons.
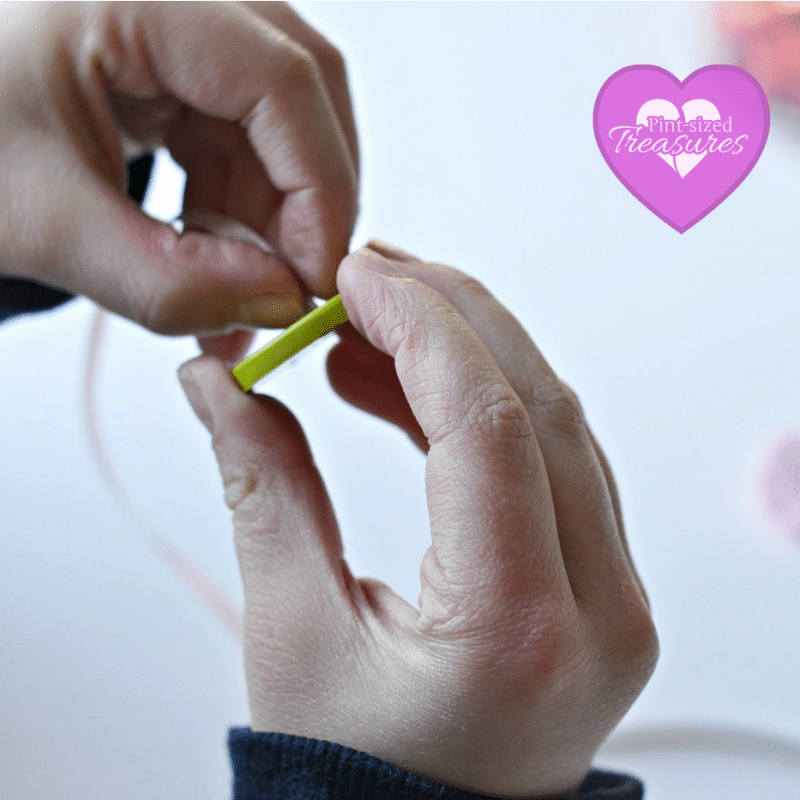
5. Once you’ve finished adding the last button, measure it against your wrist. Tie a knot on the side with the final button to keep it from sliding off. Tip: You may need to adjust the position of the buttons before tying the knot in order to create the perfect fit.
6. Snip the ribbon a few inches up from the knot.
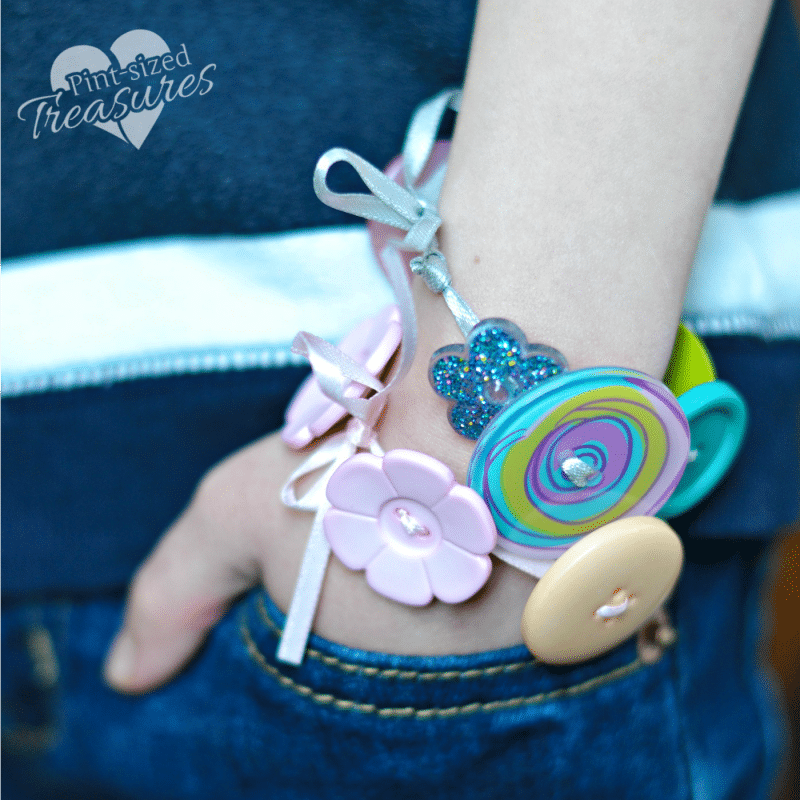
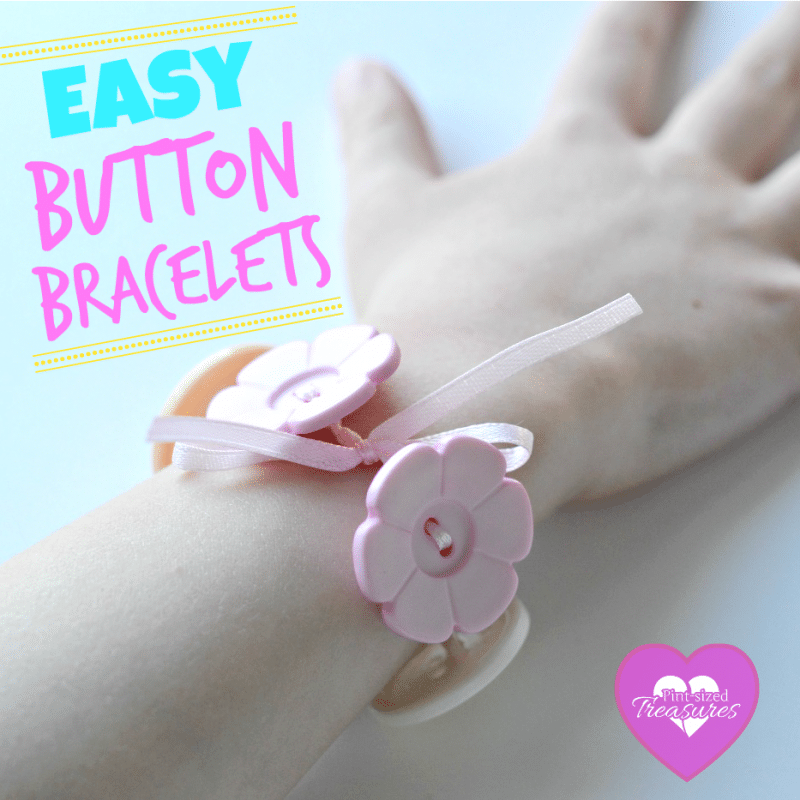
7. Wrap it around your wrist and tie the excess ribbon on the ends into a bow. Wear it alone or make more and layer them together.
Now your bracelet is ready to wear or gift!
Do you love crafts or want to learn more about crafting? Check out this amazing homemaking resource that includes lots of diy projects, crafting ideas and more. And yes, when you sign up for your homemaker bundle you get the above Craftsy deal as an added bonus — for free! But, that’s not the ONLY free bonuses you get! So, hurry and check out this amazing resource for crafting moms that’s only available until 4/27 ad midnight EST!
*Affiliate links have been added to some products and resources I think you’ll love!*
2 comments
Comments are closed.