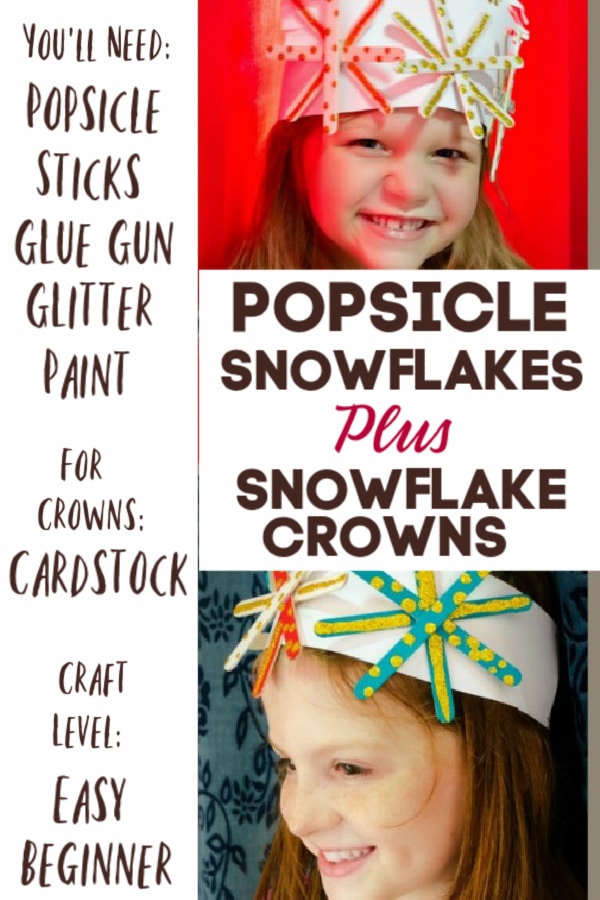
Popsicle Sticks Make Incredibly Fun and Simple Snowflakes!
My kids love snowflakes and snow globes.
They love to create homemade snowflakes out of paper, draw them, and even hang snowflakes in their room.
Snowflakes are so simple and fun that anyone can make a snowflake craft.

WHY MAKE SNOWFLAKES WITH POPSICLE STICKS?
Because you can make so many variations!
My kids also love, love, love pretend play.
Give them some new hats, scarves, glasses or anything dress-up and they are off to play for hours — literally!
Instead of just making snowflakes, we made snowflake crowns TOO!
You can totally stick to making the popsicle snowflakes (we’ll tell you how below) or you can do like we did and make simple crowns too!
With this craft we combined two special loves of my kids — snowflakes and dress-up fun.
Of course, after we completed the crafts, everyone took turns playing with their favorite snowflake crown.
This craft has been kid-tested, and it’s a winner!
If you’re munchkins love snowflakes and pretend play, they will want to make this craft over and over again!
Fact: Snowflakes are white.
Fact: Kids love colors.
Fact: We like to think outside the box.
Throw those three facts together, and what do you get?
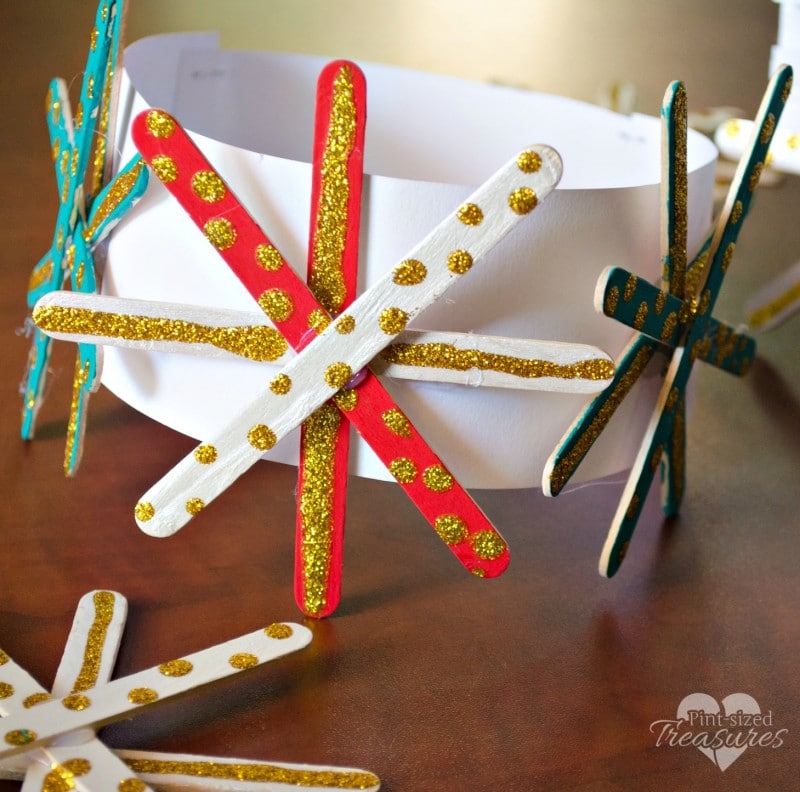
Red, green, silver, and white snowflakes!
It was WAY more fun painting with red and green than plain old white.
So let your kids pick their favorite color and go with it!
When will they ever get to see a red or green snowflake again?
What makes a great craft?
For me, as a busy mom of six kiddos, a great craft is made up of simple materials, easy directions, and low-stress factors.
Crafting with kids is suppose to be fun and memorable — not stressful and tense!
How can I make my snowflake craft experience the best ever?
Just prepare your kids for the craft.
Pick a time when everyone is fed and not sleepy.
Also, protect clothing and your work areas.
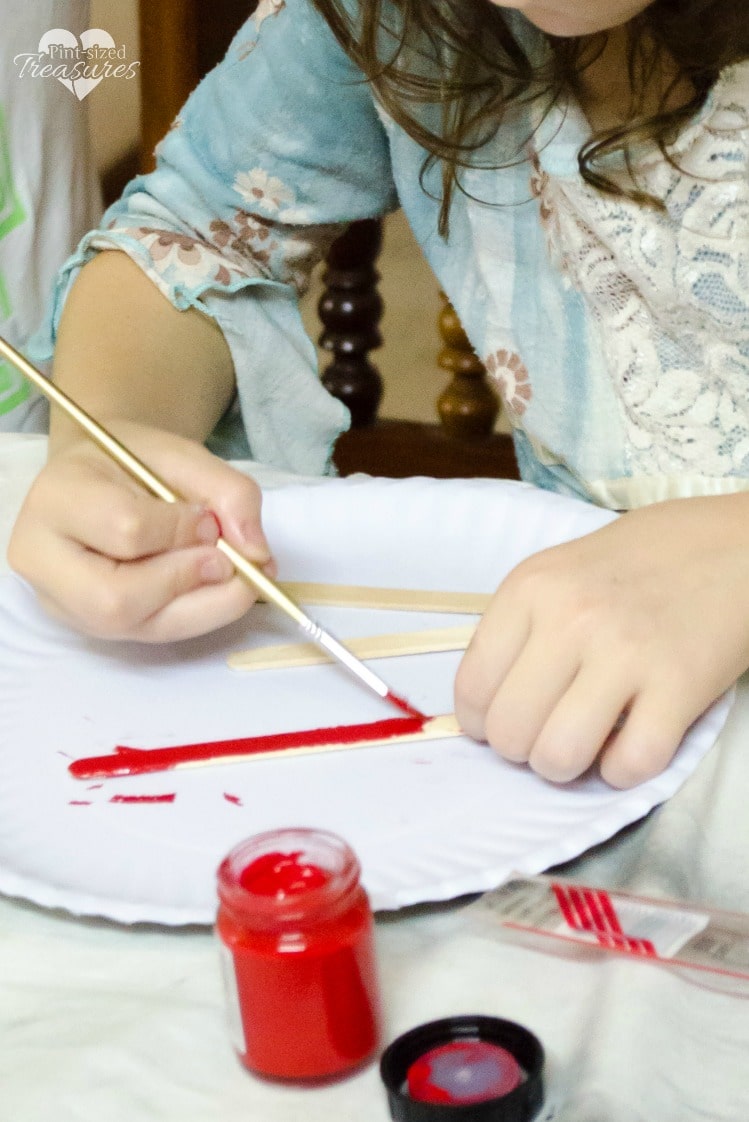
We painted on an old drop-sheet so the kids could paint freely without having an uptight mom repeatedly say, “Keep the paint on your paper plate! Don’t lean that way!”
We also painted on paper plates so the kids had a little bit more control over their painting.
It also kept the work area a little bit more organized.
Also, don’t rush through this popsicle snowflake craft.
It’s best to plan on two days for this craft so all the paint and glue has time to dry before wearing the crowns.

What kind of glue should I use?
Most of the time I use my handy-dandy glue gun.
Only my oldest daughter and I are allowed to use it.
Everyone waits their turn and watches as me or my daughter carefully glues the sticks together and finally glue the finished snowflakes onto the headbands.
Now, that you have your crafting tips, let’s get started!
Materials needed for Popsicle Snowflakes:
- 2 strips of cardstock paper ( one 14 inches long and 2 inches wide, and one 3 inches long and 2 inches wide. Adjust as needed for your child’s head.)
- glitter glue in your favorite colors
- Popsicle sticks
- white poster paint (or be crazy and try green and red!)
- glue gun and glue sticks
- stapler and staples
Directions:
- Paint popsicle sticks with white poster paint for the snowflakes. Let dry for at least 8 hours.
- Once dry, glue Popsicle sticks in snowflake pattern. Place a large dot of glue in the center of your bottom layer of the snowflake. We glue them in a lowercase “t” shape first, and then add the diagonal pieces. Glue each Popsicle stick one at a time and press down for 10 seconds before releasing and gluing the next stick.
- Let glue completely dry. Next, use the glitter glue and add your own designs to the snowflakes.
- Let glitter glue dry and set.
- Once glitter glue is completely dry, glue your three snowflakes onto the longer piece of card-stock. Let the glue completely dry.
- Once glue is dry, staple the smaller strip of card-stock to the back of the crown, creating the headband. Re-adjust as needed to fit your child’s head comfortably.
Your snowflake crown is now ready to wear! Have fun!


What fun! Our little princess will love this! Thank you.