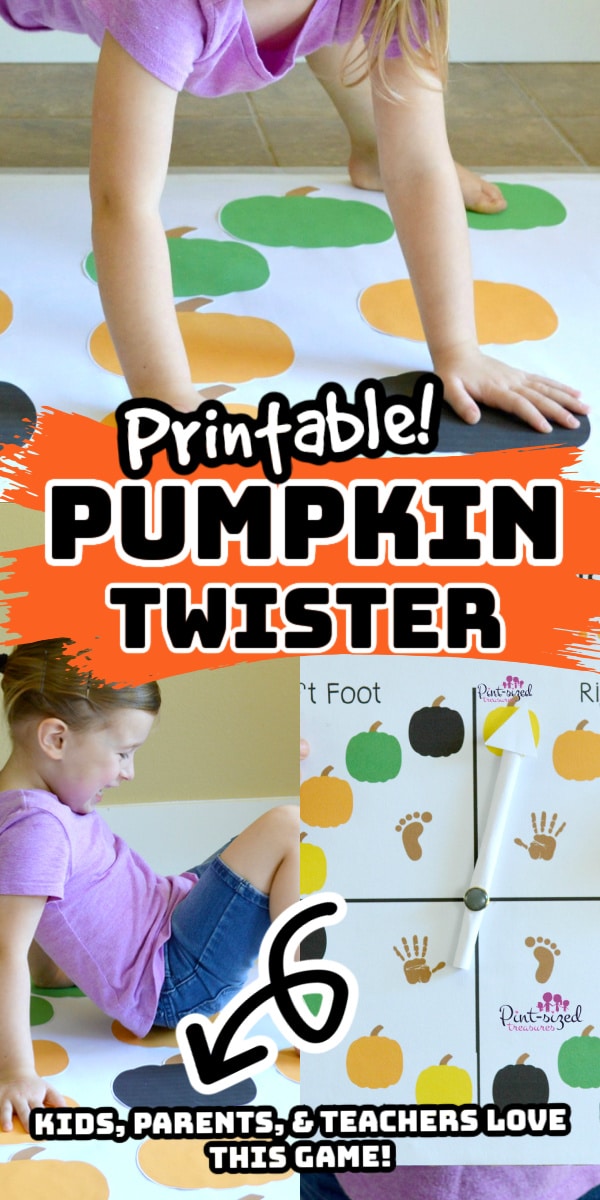
Twister is such a fun game for preschoolers, and this DIY pumpkin twister game is the perfect version for fall!
It will help preschoolers learn colors, follow directions, and distinguish left from right.
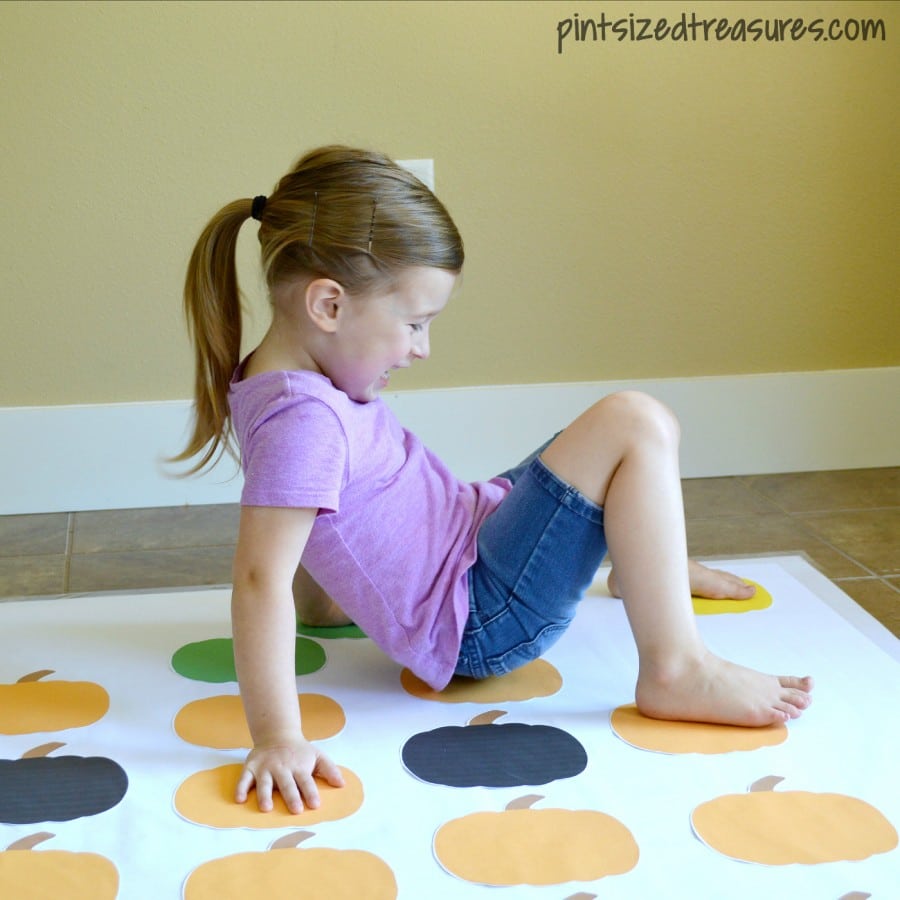
And did I mention it’s a blast?!
We had such a great time playing, no one wanted to stop!
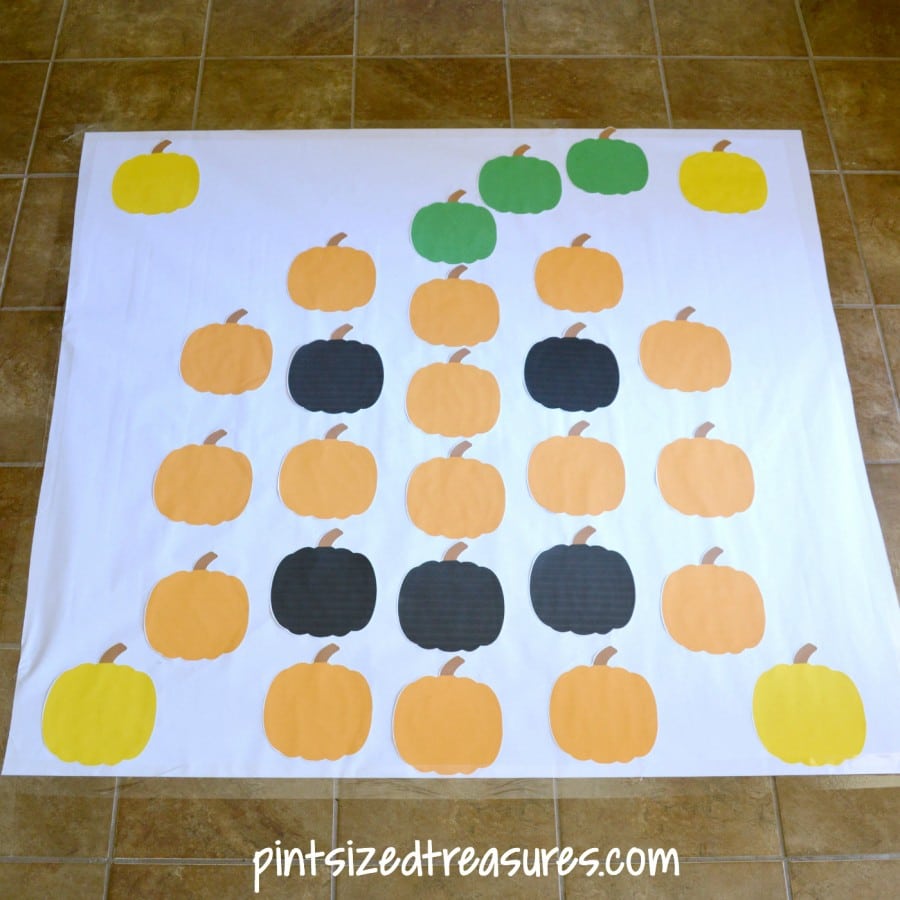
Your preschoolers can help put this together and create a fun layout.
We added yellow pumpkins in the corner so we had 4 different colors, but you can organize things however you want.
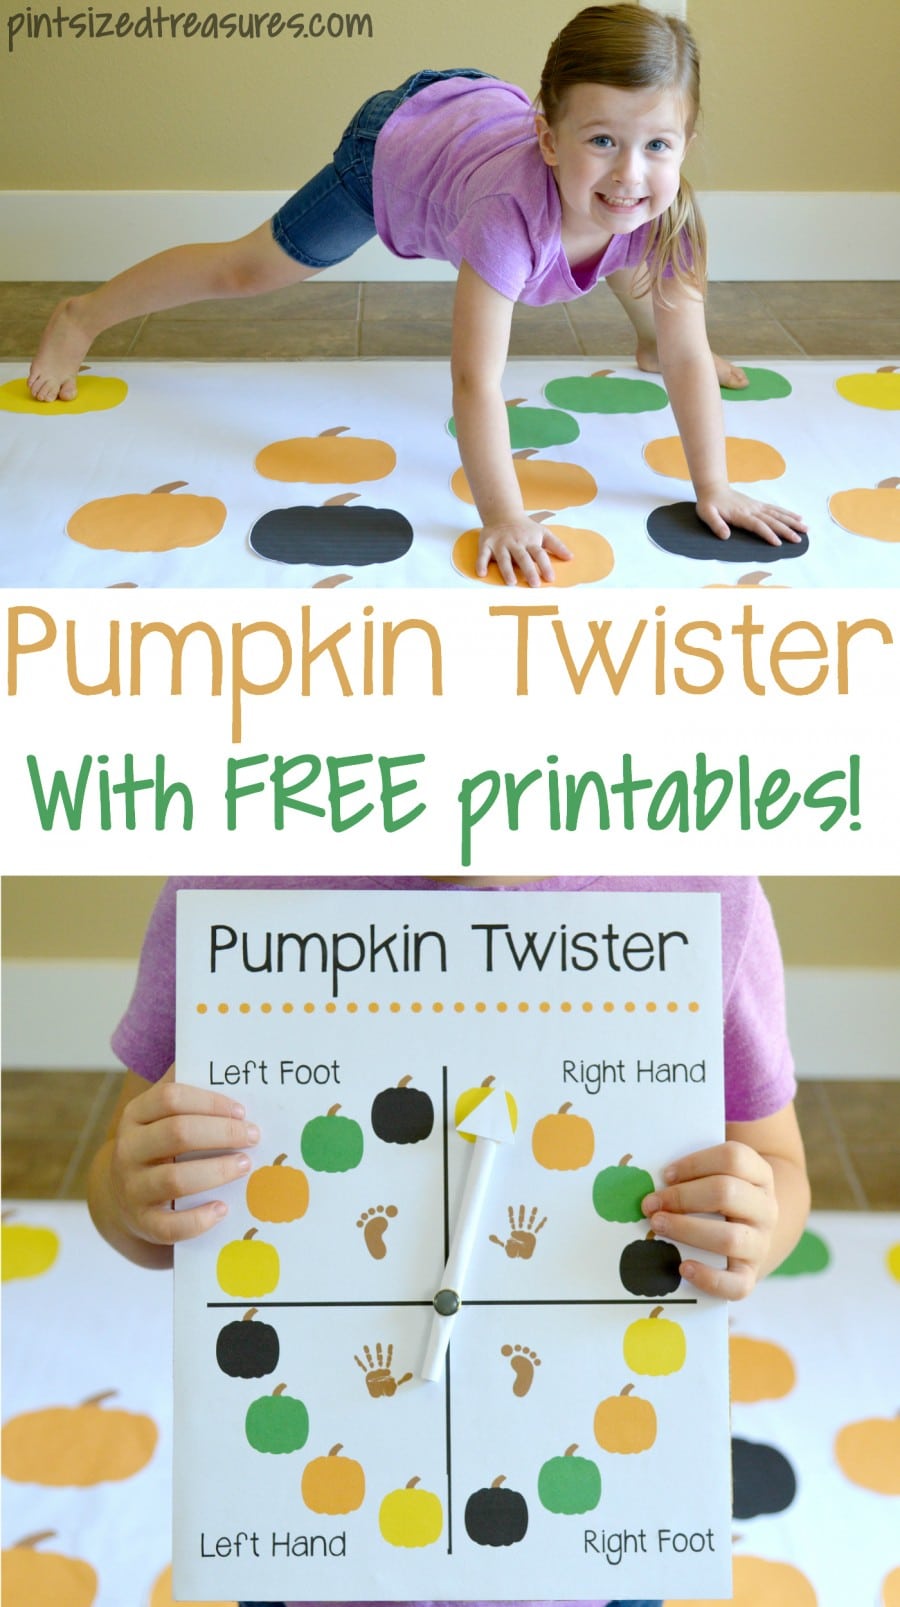
If the traditional lines are more your style, go for it!
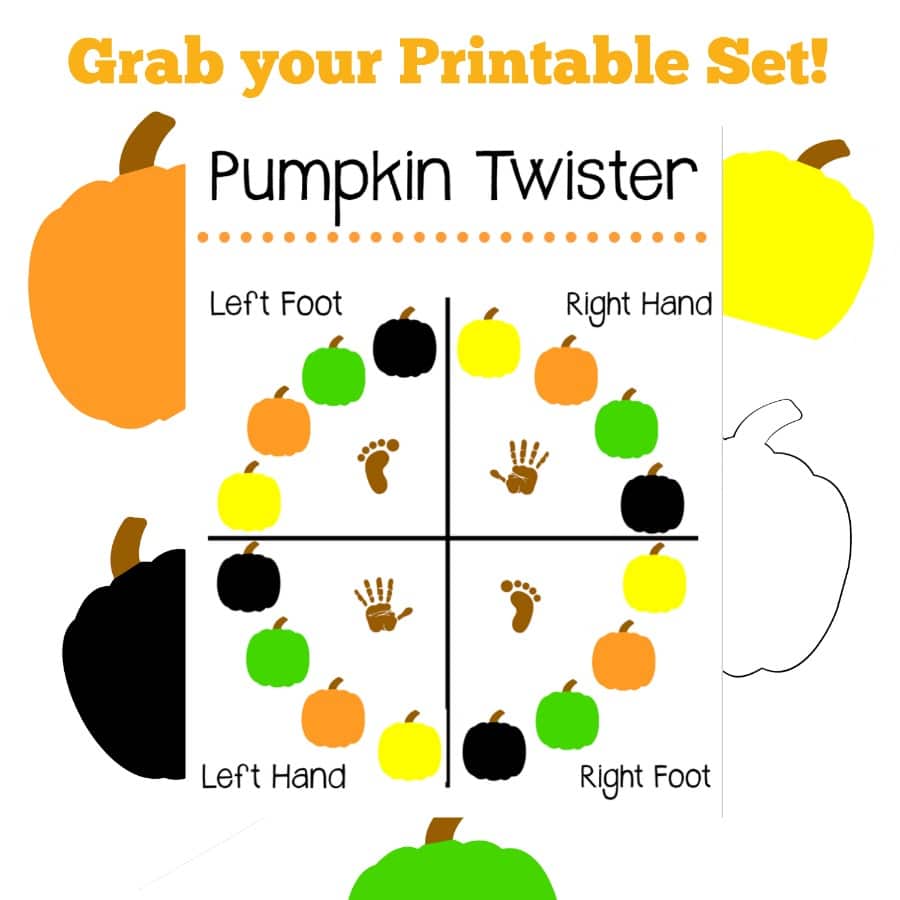
For the pumpkins, you’ll use the free printables in our printable pack!
You can download those by clicking on our printable pack image below.
There are different colored pumpkins.
The colors included are: orange, black, yellow, green and white.
If you don’t want to use colored ink to print the various ones, just print the white template onto colored paper — or print white pumpkins and color them with crayons, markers or paint!
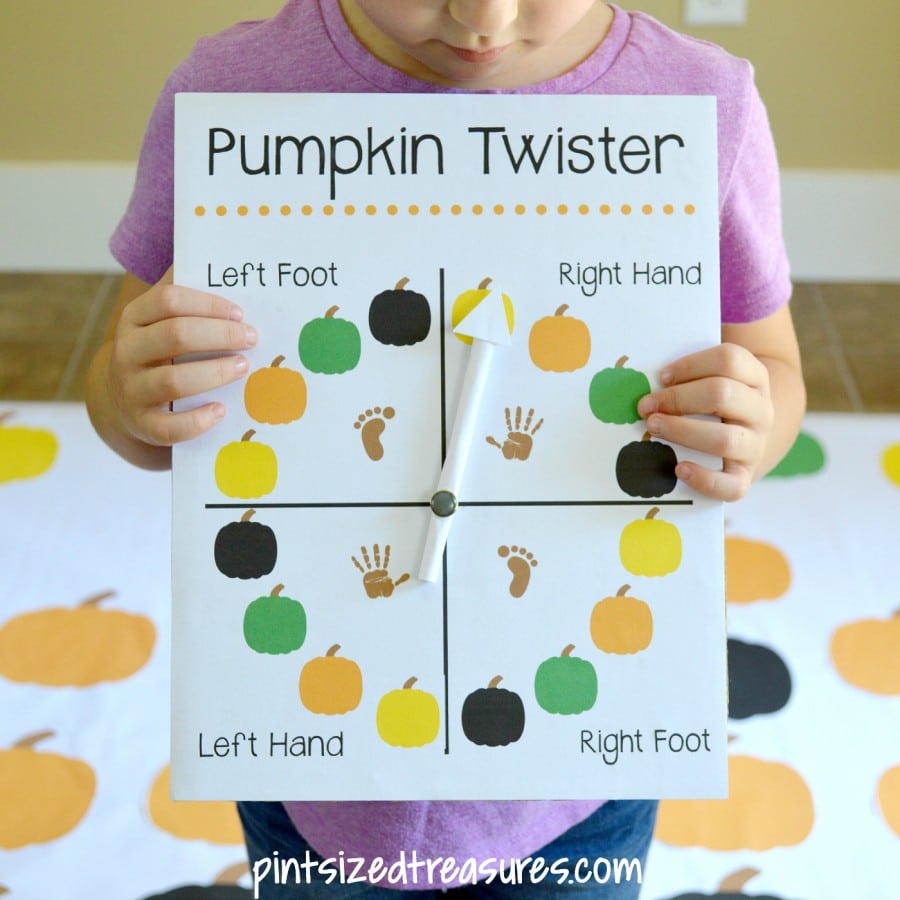
There’s also a spinner board included in the printable set — which my kids loved just as much as actually playing the game!
The printed pumpkins held up really well to my wild toddler and preschooler, but you could also laminate them so they will be more durable.
With how much fun they’ll have, you’ll definitely want to play again and again!
DIY Pumpkin Twister Game
Materials Needed:
- Printable Orange Pumpkin
- Green Pumpkin
- Black Pumpkin
- Yellow Pumpkin
- White Pumpkin
- Twister Board
- Card Stock
- scissors
- glue
- tape
- large white poster or paper
- cardboard
- brad fastener
How to Play Pumpkin Twister Game:
- Print off colored pumpkins, or use the white template and print on colored paper. If you’re using the pumpkin layout, you’ll need 16 orange, 5 black, 3 green, and 4 yellow. Or feel free to come up with your own pumpkin arrangement!
- Roll out paper or poster on the floor, and tape around the edges to secure it to the ground.
- Cut out your pumpkins, and glue them to the poster in your desired layout.
- Print out the spinner board, and cut out a piece of cardboard that’s the same size (8.5″ x 11″). Glue the spinner board to the cardboard.
- Roll a piece of card stock, about 4 inches long, and glue it closed so it makes a small tube. Cut out a triangle and glue it to the end, to make an arrow.
- Attach the spinner to the board by cutting a hole through both the spinner and the board, and attaching it with the brad fastener.
To play the game, spin to see which hand/foot goes where, and do what it says!
Keep playing until someone falls.
Whoever lasts the longest is the winner!