Looking for an Easy, Valentine’s Day Bee Mine Cake Recipe?
Trying to find a cutesy Valentine’s day snack that kids will squeal over?
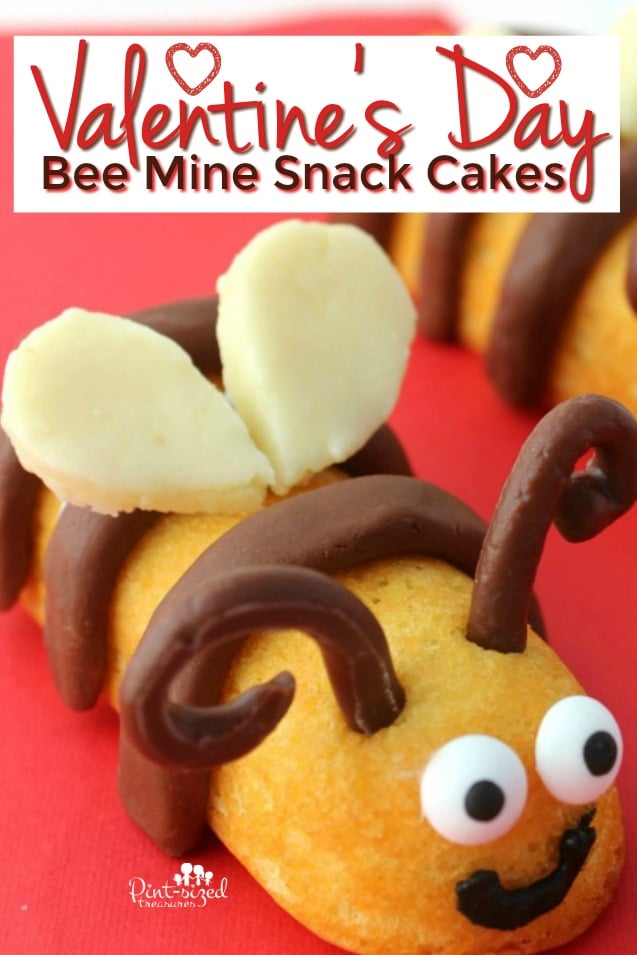
Bee Mine Valentine Cakes will make even the meanest Valentine smile!
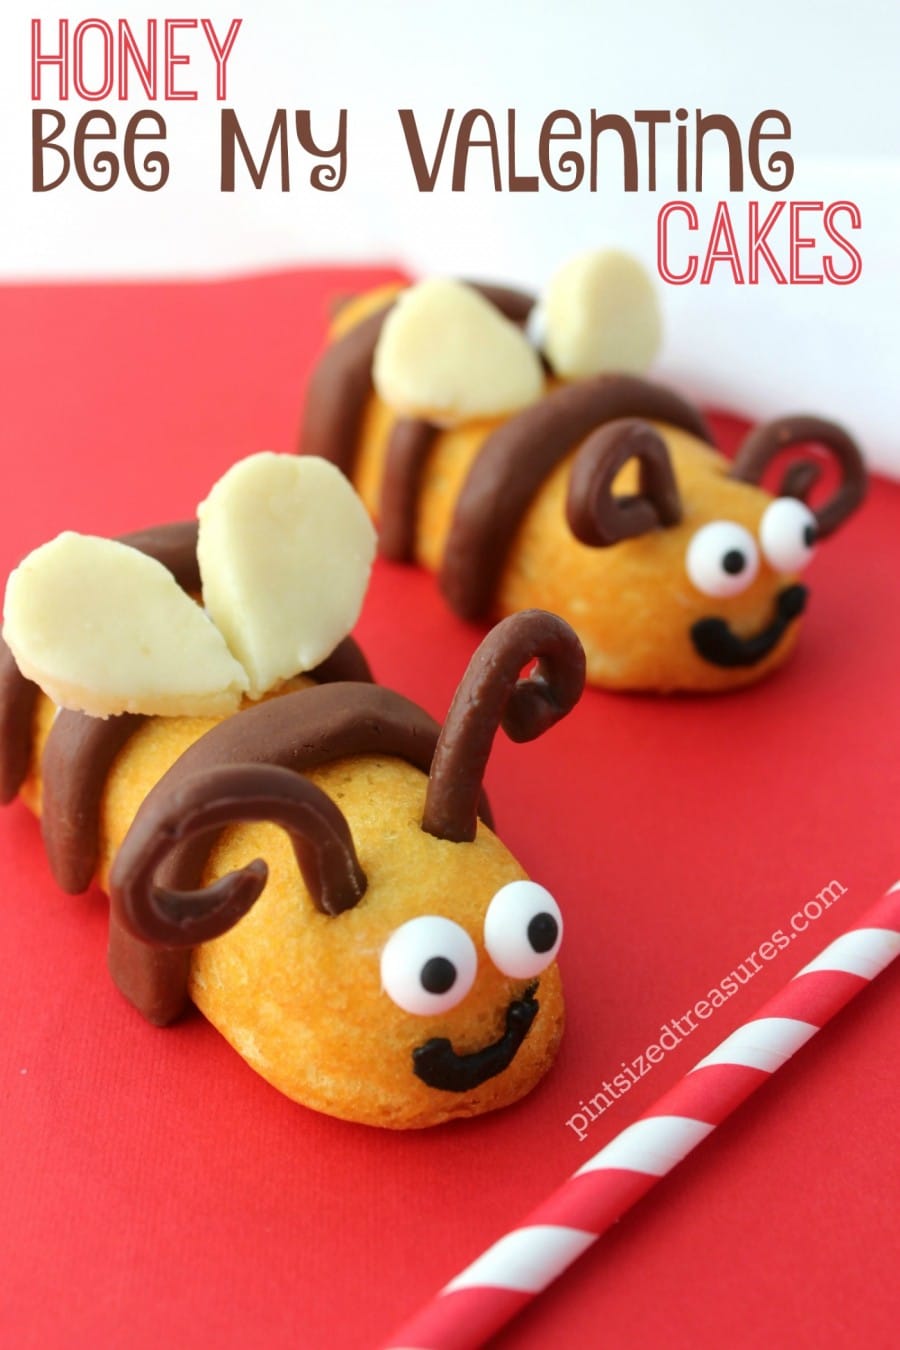
Bring the kids into the kitchen to put these cute honey-bees together!
Plus, it’s a good excuse to buy cream-filled sponge cakes once again, right?
My kids love helping when we mold chocolate.
It’s like homemade play dough, only better.
Just make sure all ingredients are cool to the touch when you start molding so there is not a danger of burns — ouch!
My kids normally get nervous or run when they see honey-bees, but not this time!
This is the one honey-bee that attracts them to the kitchen — every single time.
Most of the time I see red and pink cupcakes at a Valentine’s day party.
Wouldn’t it be fun to serve these up instead?
Sure, cupcakes are always nice, but these are so different, fun and crazy cute.
Don’t you agree?
They just make me smile every time I look at them!

Ready to share that smile with someone else?
Print Valentine’s Day Bee Mine Snack Cakes
These Valentine’s Day Bee Mine snack cakes are an adorable, no-bake treat that’s perfect for little valentines. Made with store-bought snack cakes, molding chocolate, and sweet candy details, this easy Valentine’s treat recipe is fun to decorate and makes a charming homemade gift for classroom parties and family celebrations.
- Prep Time 15 mins
- Cook Time 10 mins
- Total Time 25 mins
- Category Snack, Snacks
- Cuisine American
Ingredients
Molding Chocolate
- 8 oz white chocolate chips
- 8 oz semi-sweet chocolate chips
- 3 cup light corn syrup (divided)
Cakes
- Twinkies Snack Cakes
- Wilton candy eyeballs
- Black frosting
- Frosting (or use Nutella, peanut butter)
- Toothpick
Instructions
Molding Chocolate
- In two separate saucepans, melt the chocolate chips on medium-low heat.
- Allow the chocolate to cool to about 91°F, stirring often.
- Pour ½ cup corn syrup into each saucepan.
- Stir slowly until well mixed. This chocolate mixture will become thick very quickly, so be sure to scrape the bottom of the bowl to incorporate all of the melted chocolate.
- Pour each chocolate mixture onto a flat surface that has been covered with wax paper and dusted with powdered sugar.
- Knead each chocolate mixture until glossy and smooth. (If your hands are warm, use a plastic dough scraper to knead the modeling chocolate.)
- Wrap each modeling chocolate in plastic wrap and place in a zip-top bag or airtight container.
Cakes
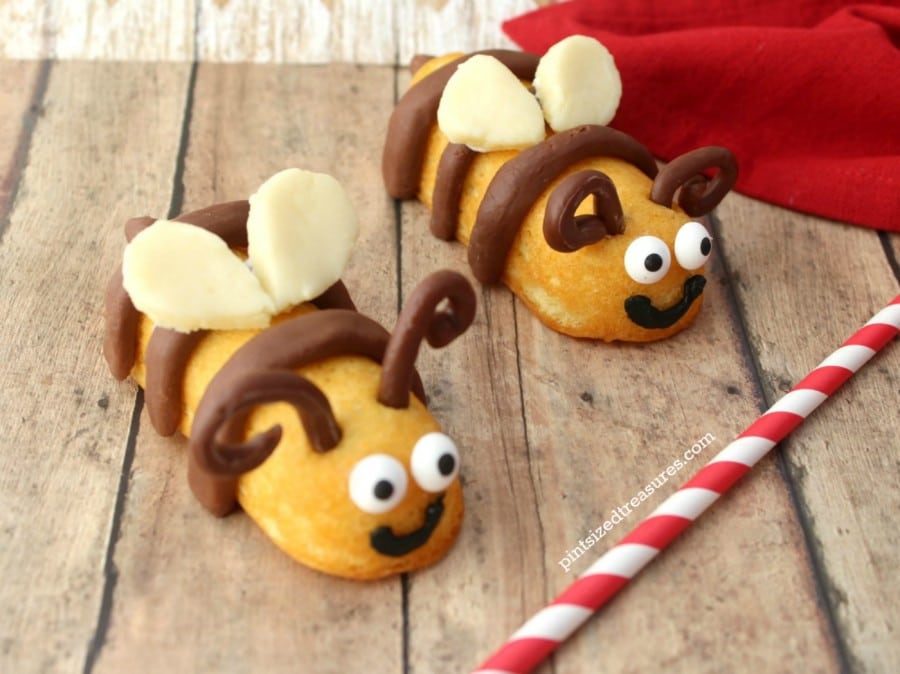
- Roll out the chocolate and white modeling chocolate to about 1/16″ thickness.
- Use a knife or pastry wheel to cut ½” wide by 5″-6″ long strips from the brown.
- Gently shape these chocolate trips around your bee to make the stripes of the bee as pictured, cut off excess at the bottoms as needed.
- Using a sharp knife, gently cut the wings from your white modeling chocolate.
- Place wings into the fridge for about 10 minutes to allow them to harden.
- Cut off about 1½” pieces of the brown chocolate, rolling them with your hands to make thin logs and curl up one end to make antennae.
- Once you have reached your desired shape place them into the fridge for about 10 minutes to harden.
- To finish decorating your bees, Use a dab of frosting to attach the wings and eyes.
- Use a toothpick to poke two holes in between the eyes and the first stripe.
- Place an antennae in each hole.
- Pipe on a black frosting smile.