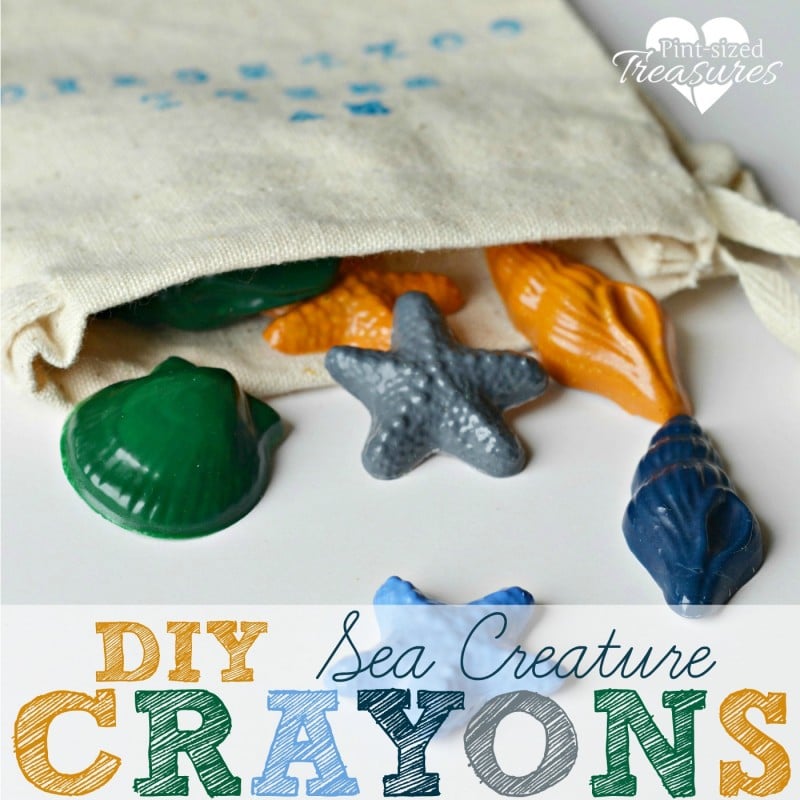
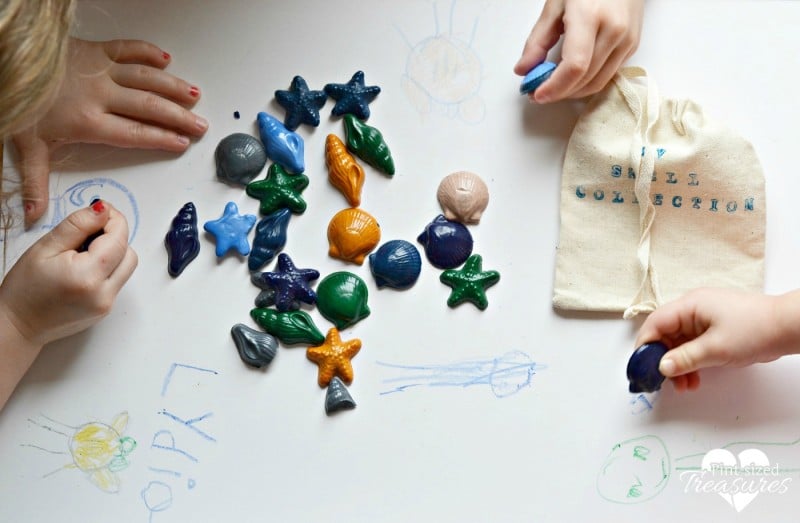
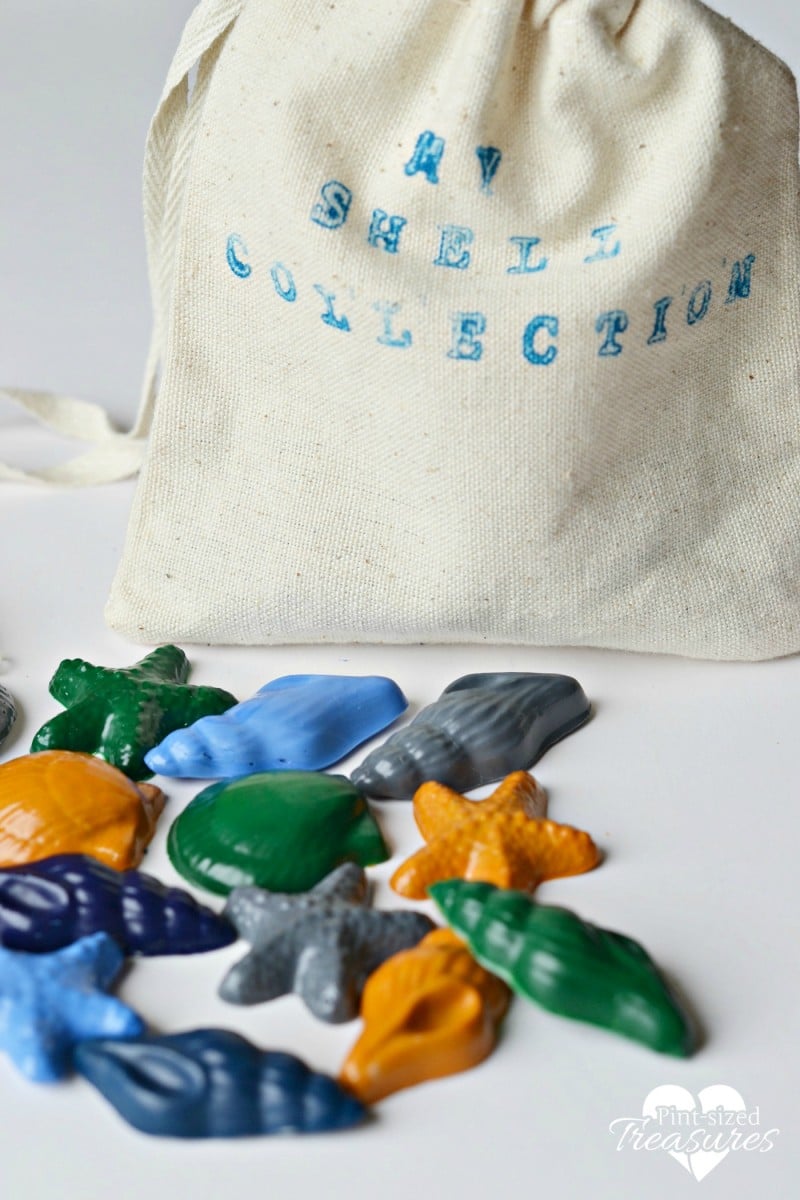
Got any broken crayons? Most moms do! Don’t throw them away and make coloring even more fun with these DIY sea creature crayons! Don’t you love it when you upcycle something in your house and actually use it? I love that the kids can get involved in this upcycled craft and activity too! They’re learning that re-purposing items around the house can be fun — really fun!
The sea creature shapes makes these crayons super-easy to use — for even the smallest of hands! Think jumbo crayons but way better.
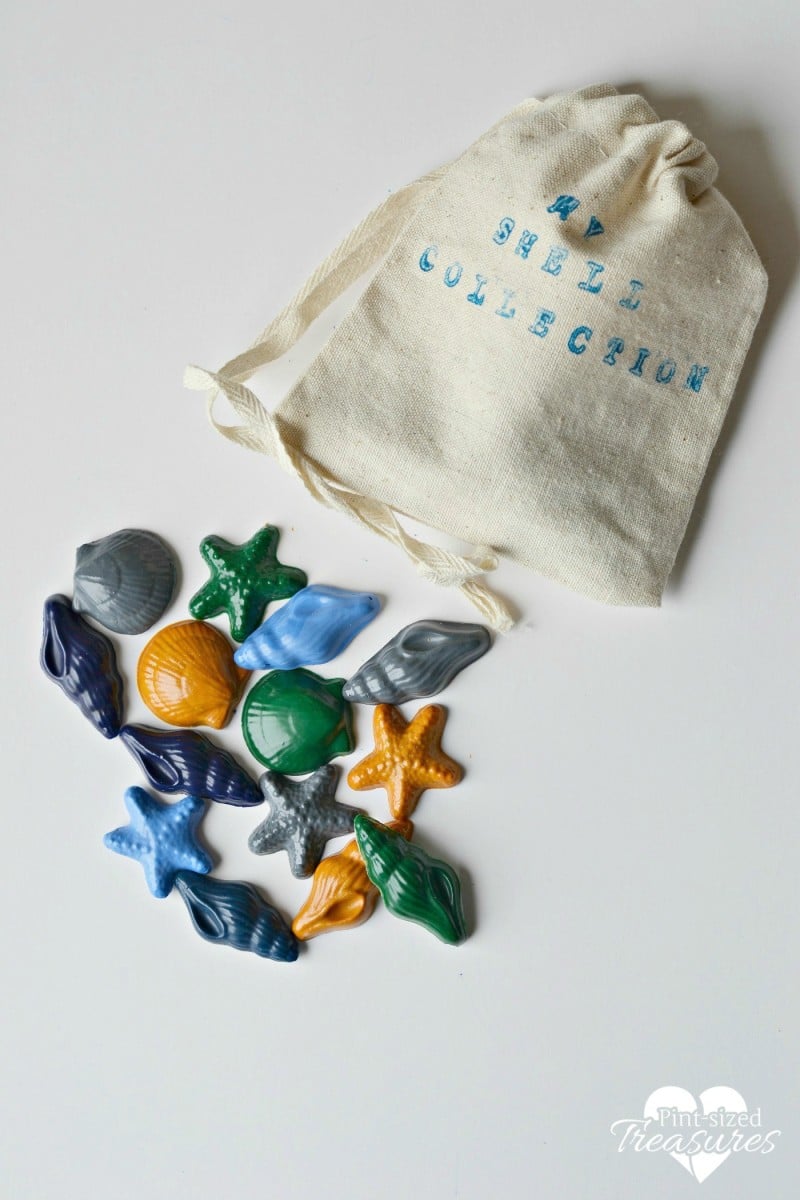
Got any summer birthday parties coming up? These sea creature crayons would make a unique and fun gift item! I know I would love getting these as a kid! To keep your super-cute crayons stored safely away when the kids aren’t coloring, make sure you also check out the perfectly practical customizeable bag below. It’s a great way to let your kids bring these crayons on road trips. Road trips are the perfect time to get some extra coloring in!
Grab that stash of broken crayons, and let’s get started! Oh, and here’s ANOTHER melted crayon activity you’ll love when you finish this one!
Sea Creature Crayons
Supplies Needed:
- broken crayon pieces
- disposable muffin pan(Or an old one that you don’t mind getting wax on.)
- sea creatures mold
- plastic spoons
Directions
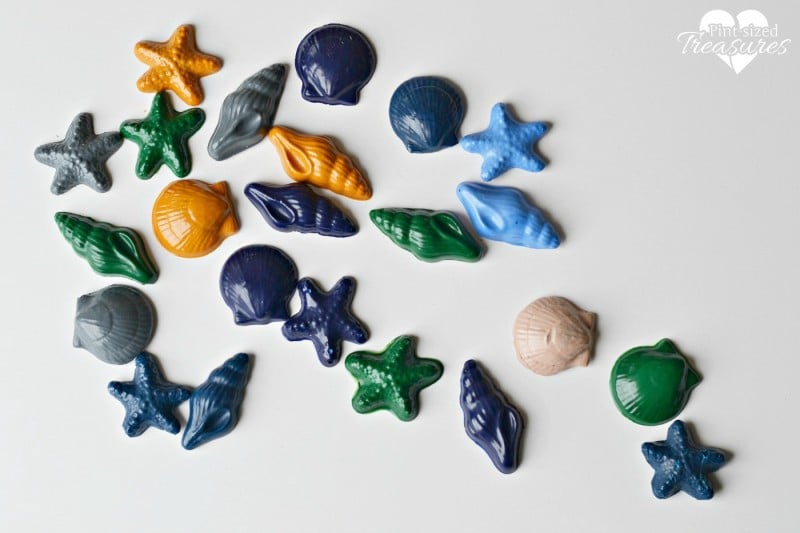
- Peel the paper off the broken crayons and sort the pieces by color into a muffin pan. We used grays, blues, greens, and golds since we were making ocean crayons.
- Set the oven to 250 degrees and bake the crayons until the wax has completely melted.
- Pull the pan out and spoon wax into your mold. Don’t worry about filling the mold perfectly. Excess wax can be cut away later. If the wax begins to harden in the pan before you are done, place the pan back into the oven for a few more minutes. Pull it out again and continue filling your mold.
- Once the mold is filled, place it in the freezer until the wax completely hardens.
- Remove the sea creature crayons from the mold. If necessary, trim excess pieces of wax away with a knife.
- Hand them over and let the coloring commence!
Sea Creature Crayon Collection Bag
Supplies Needed:
- cloth favor bags
- fabric paint
- paper plate
- alphabet stamps
Directions:
- Smear a small amount of fabric paint across a paper plate.
- Ink up a stamp with the fabric paint. Test the stamp out on the paper plate a few times to ensure that you’re getting the right amount of paint on it.
- Lay the favor bag out flat and begin stamping your words one letter at a time. The kids will love doing this step! It’s good spelling practice too!
- Let the paint dry. Don’t forget to thoroughly wash off the stamps you used.
That’s it! Now you have brand new sea creature crayons — and a hand stamped bag to store them in!
*Affiliate links have been added to some products and resources I think you’ll love!*

