Rice krispie treats are always an easy recipe to make when there’s a holiday or party coming up! I have fond memories of making rice crispy treats with my friends.
Now that I have a family of my own, I love making them with my kids!
Gooey marshmallows holding together crispy rice cereal for that perfect sweet crunchy bite — it’s nostalgic and tasty!
Make Rice Krispie Treats Better with Chocolate!
If you really want to take your treats to the next level though, dip them in chocolate.
Everything tastes better dipped in chocolate!
We’re not talking about one kind of chocolate here — it takes two different kinds of chocolate to make these darling fall treats!
You can find the white chocolate here and the milk chocolate here for this recipe!
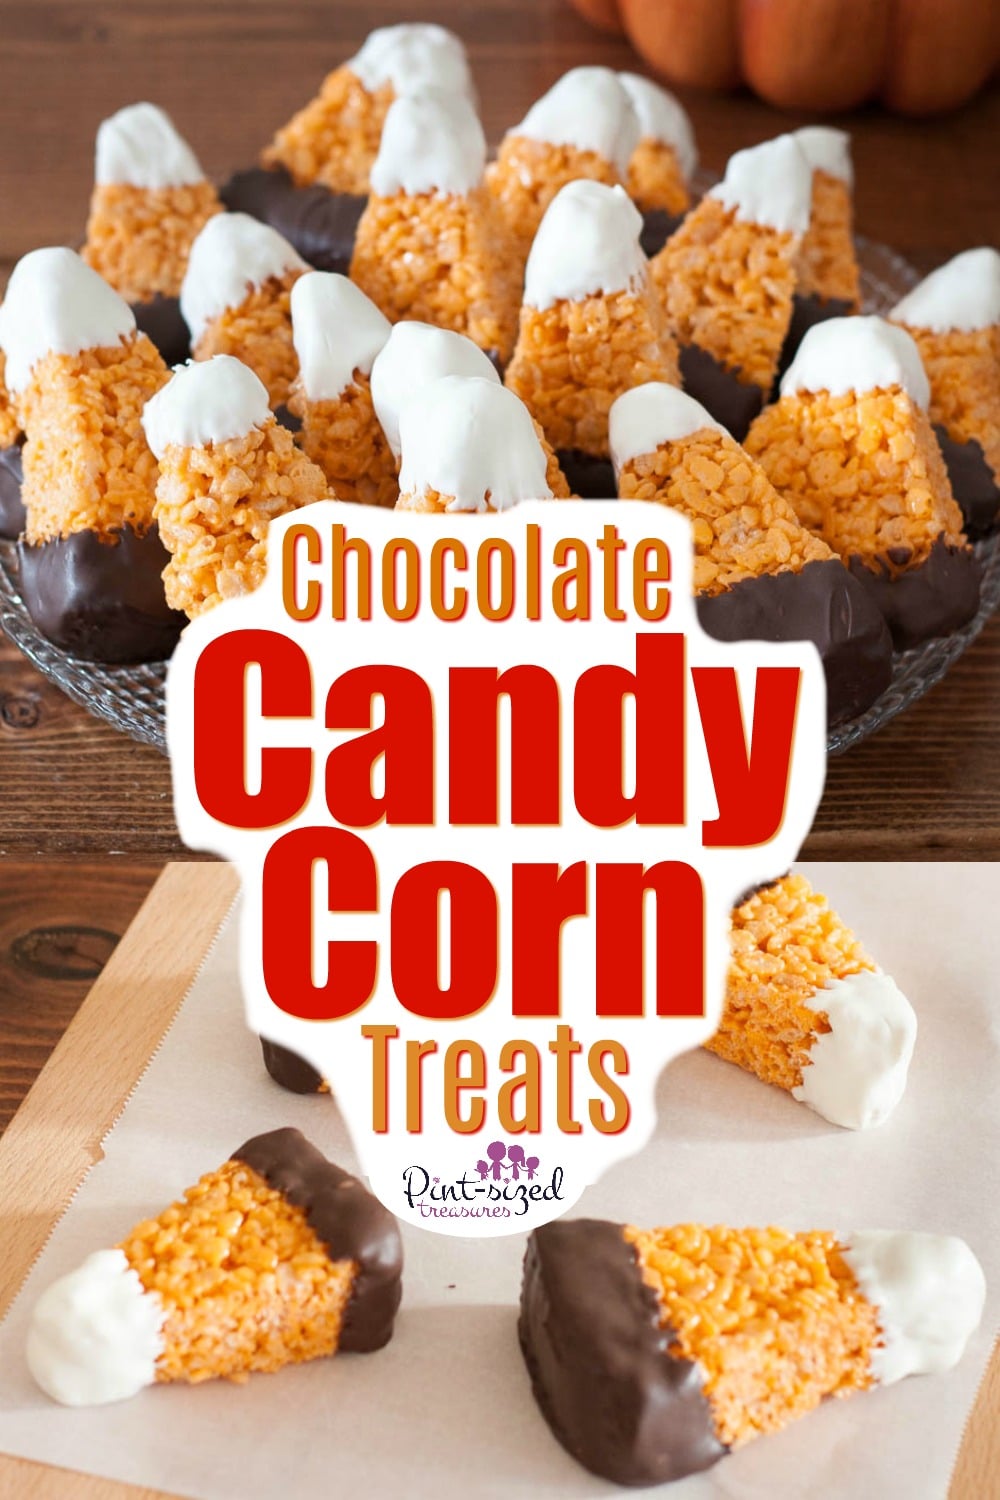
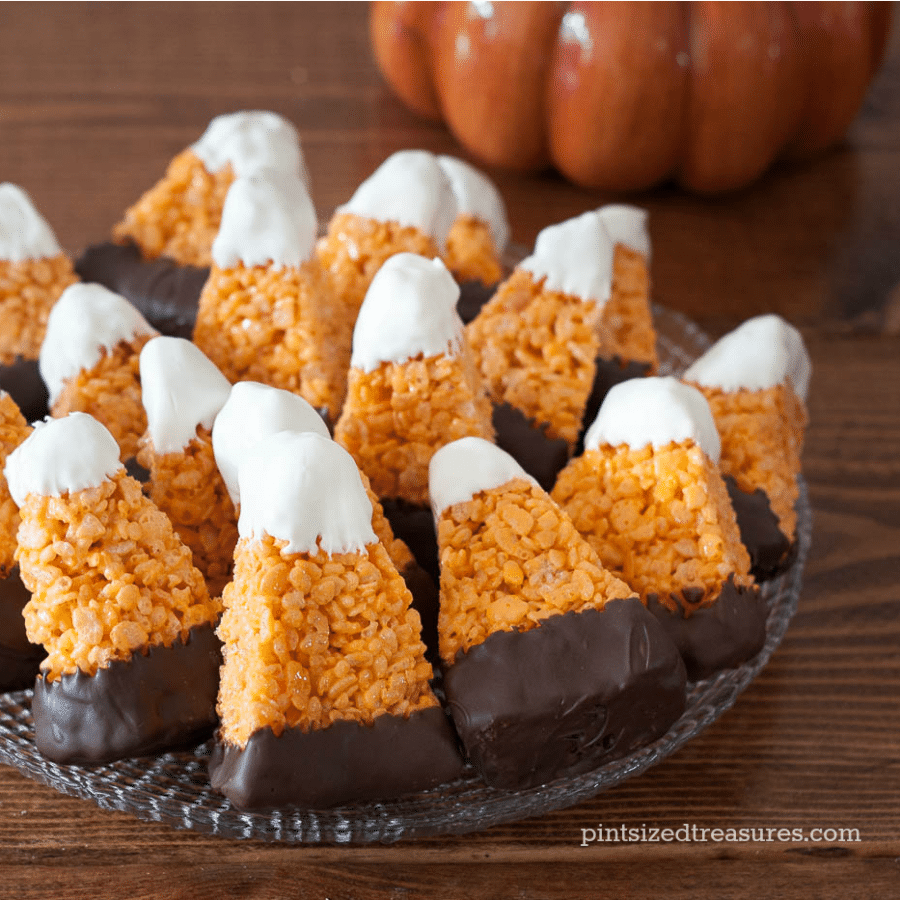
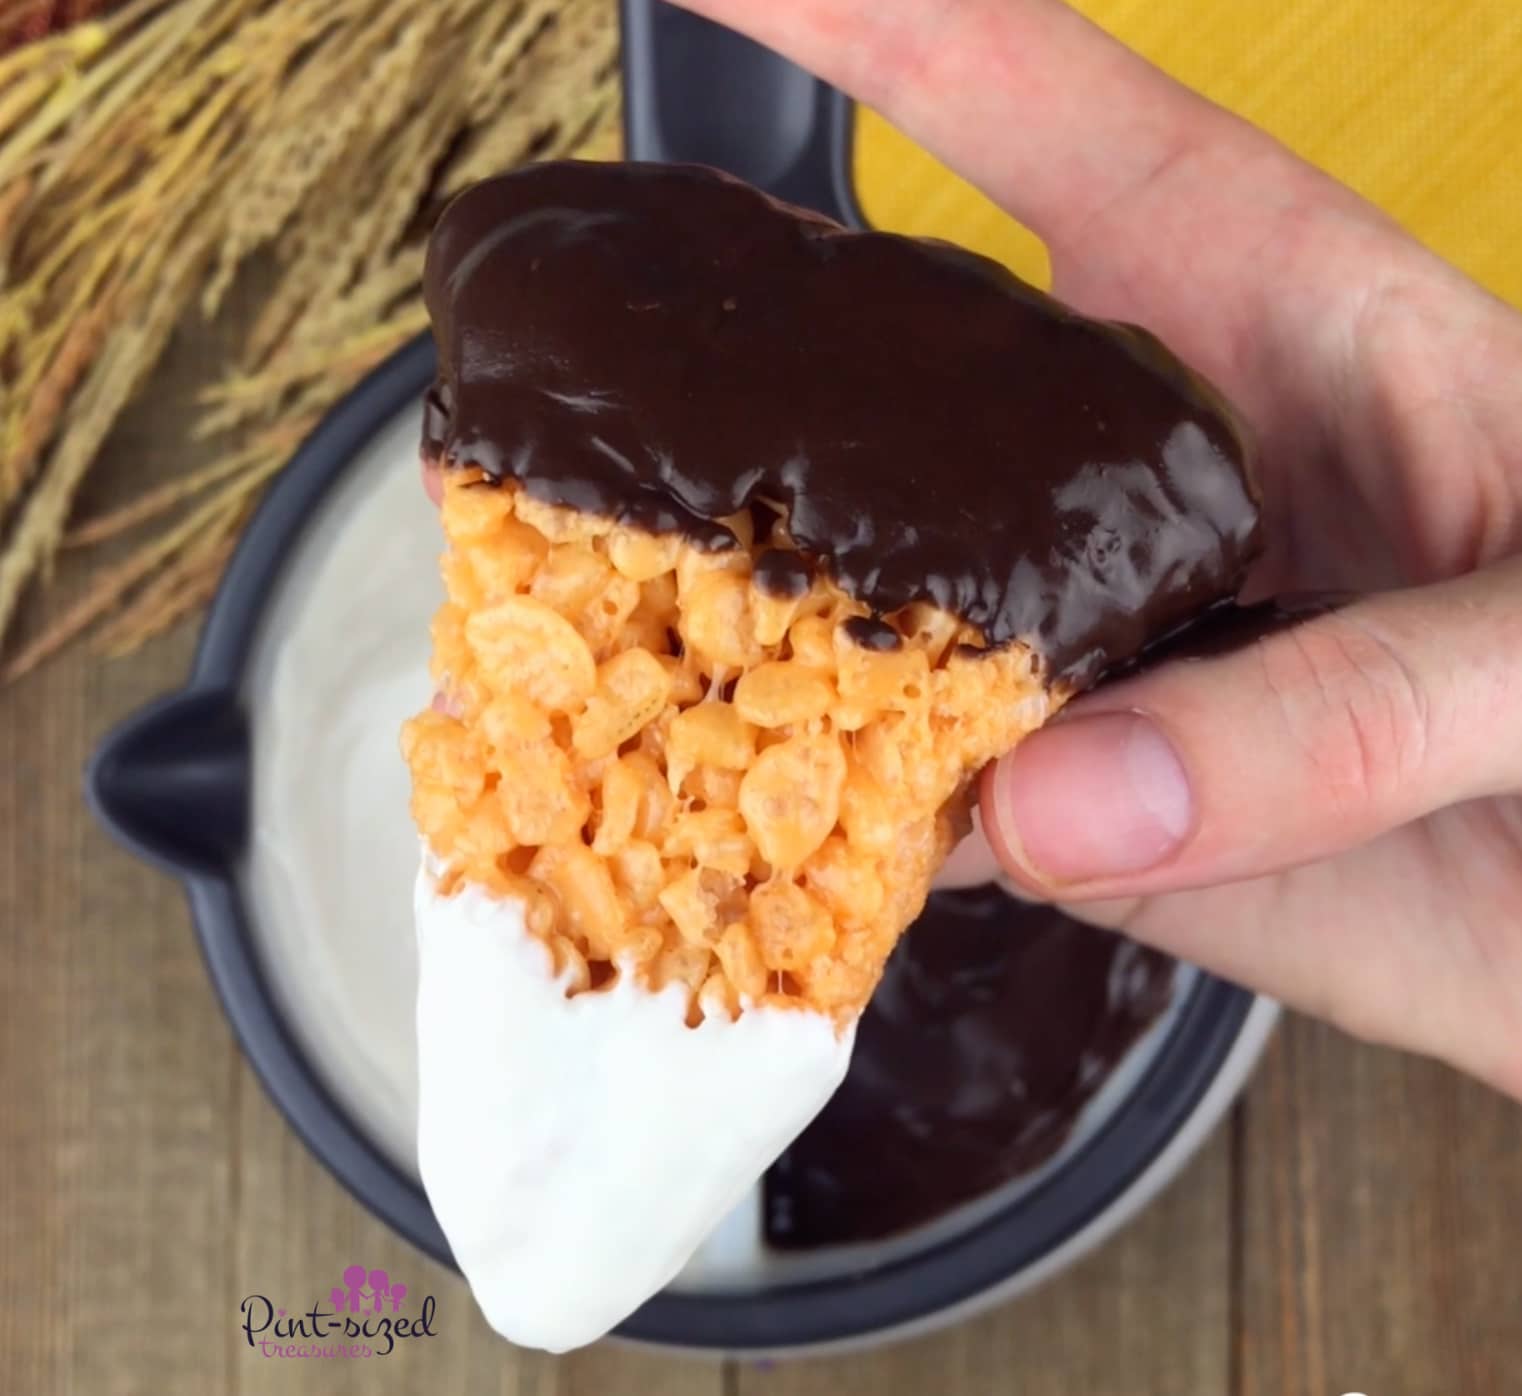
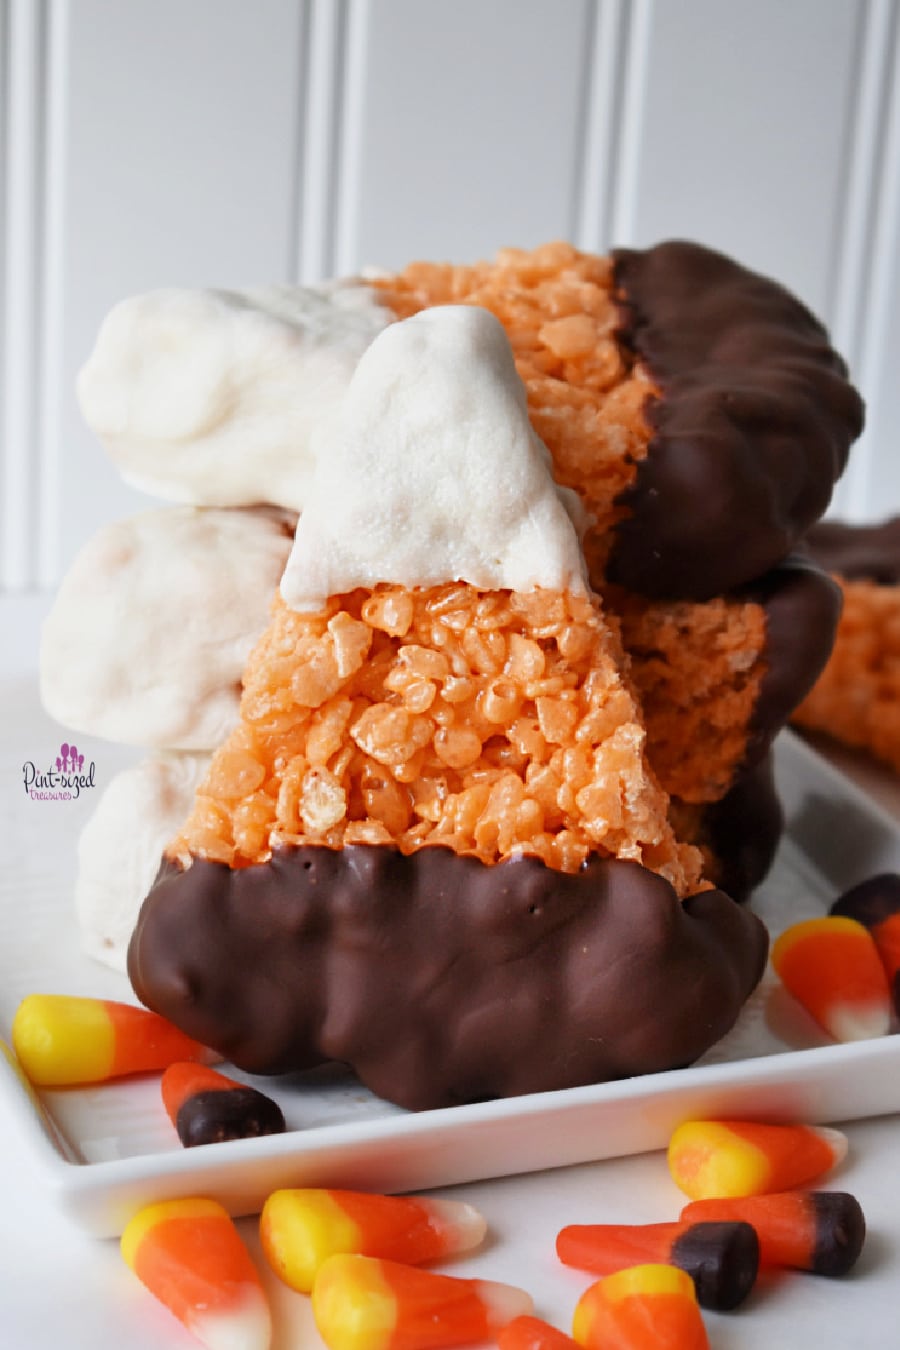
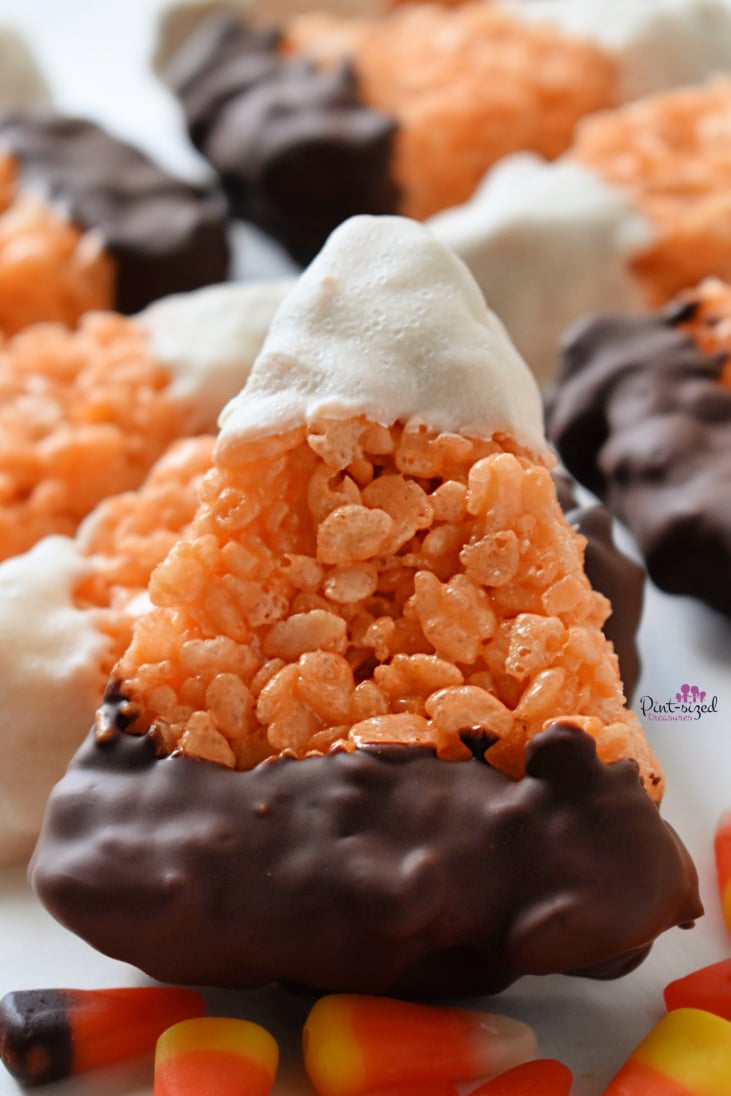
Candy Corn Rice Krispie Treats Uses two Kinds of chocolate that gives it the classic candy corn look — which is perfect for the fall season.

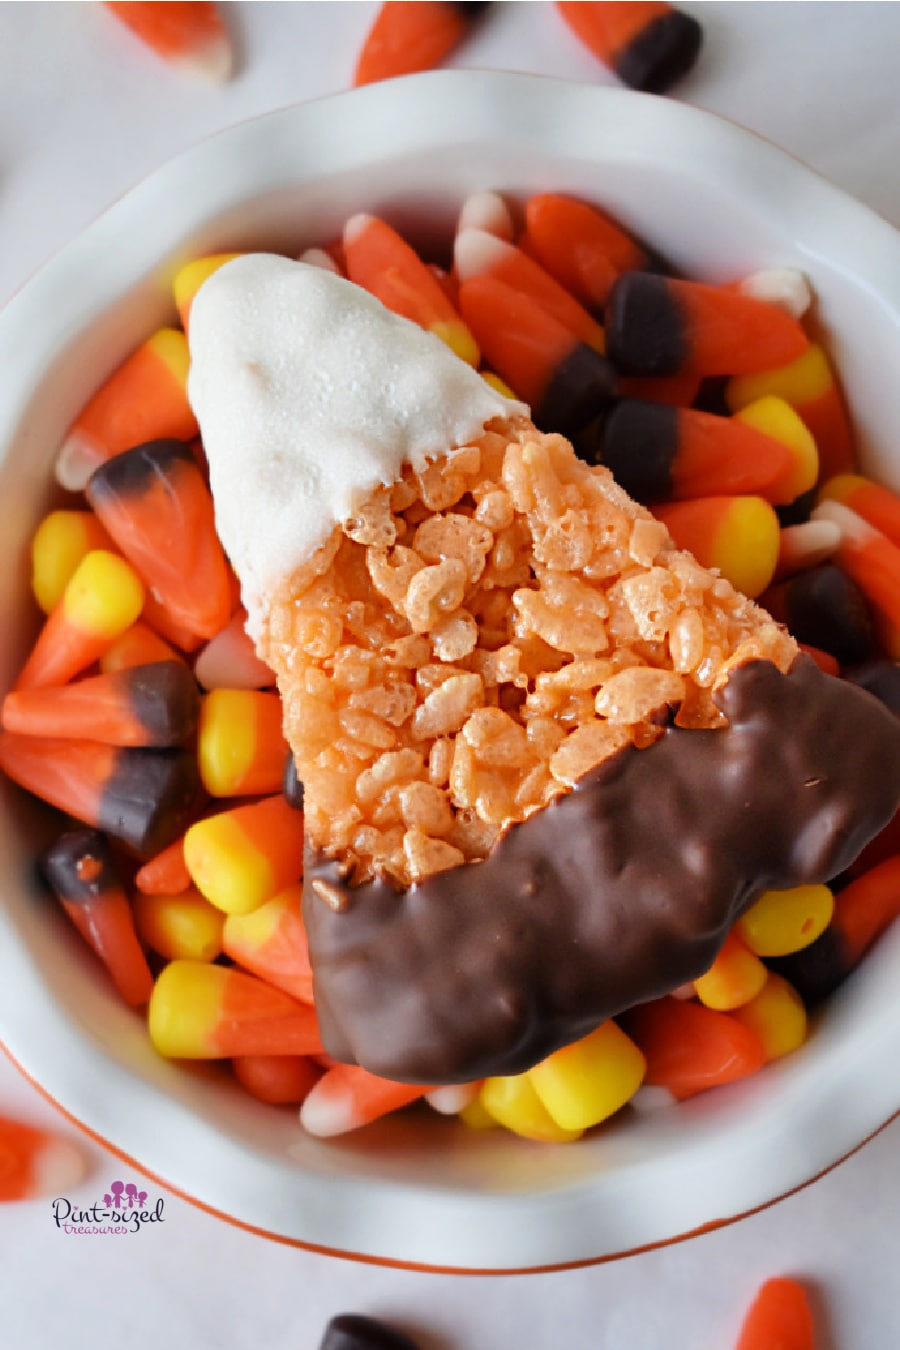
Inspired by the Harvest Corn variety of candy corn, one end of the treat is dipped in dark chocolate, while the other is dipped in white chocolate.
Since each layer of candy corn has a flavor (it’s true), dipping in two kinds of chocolate gives you three different flavor experiences in one treat — just like the actual candy.
How to Make Chocolate-dipped Candy Corn Rice Krispie Treats
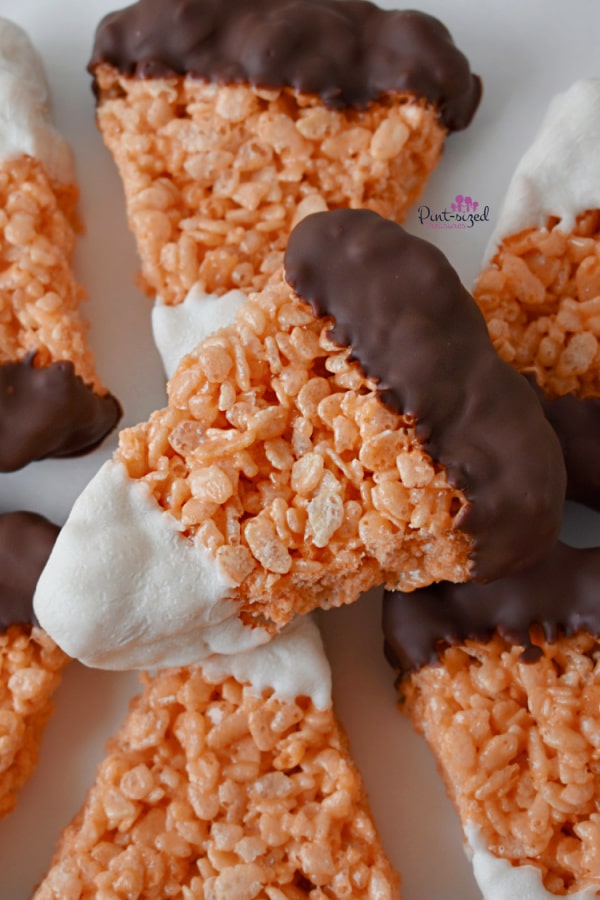
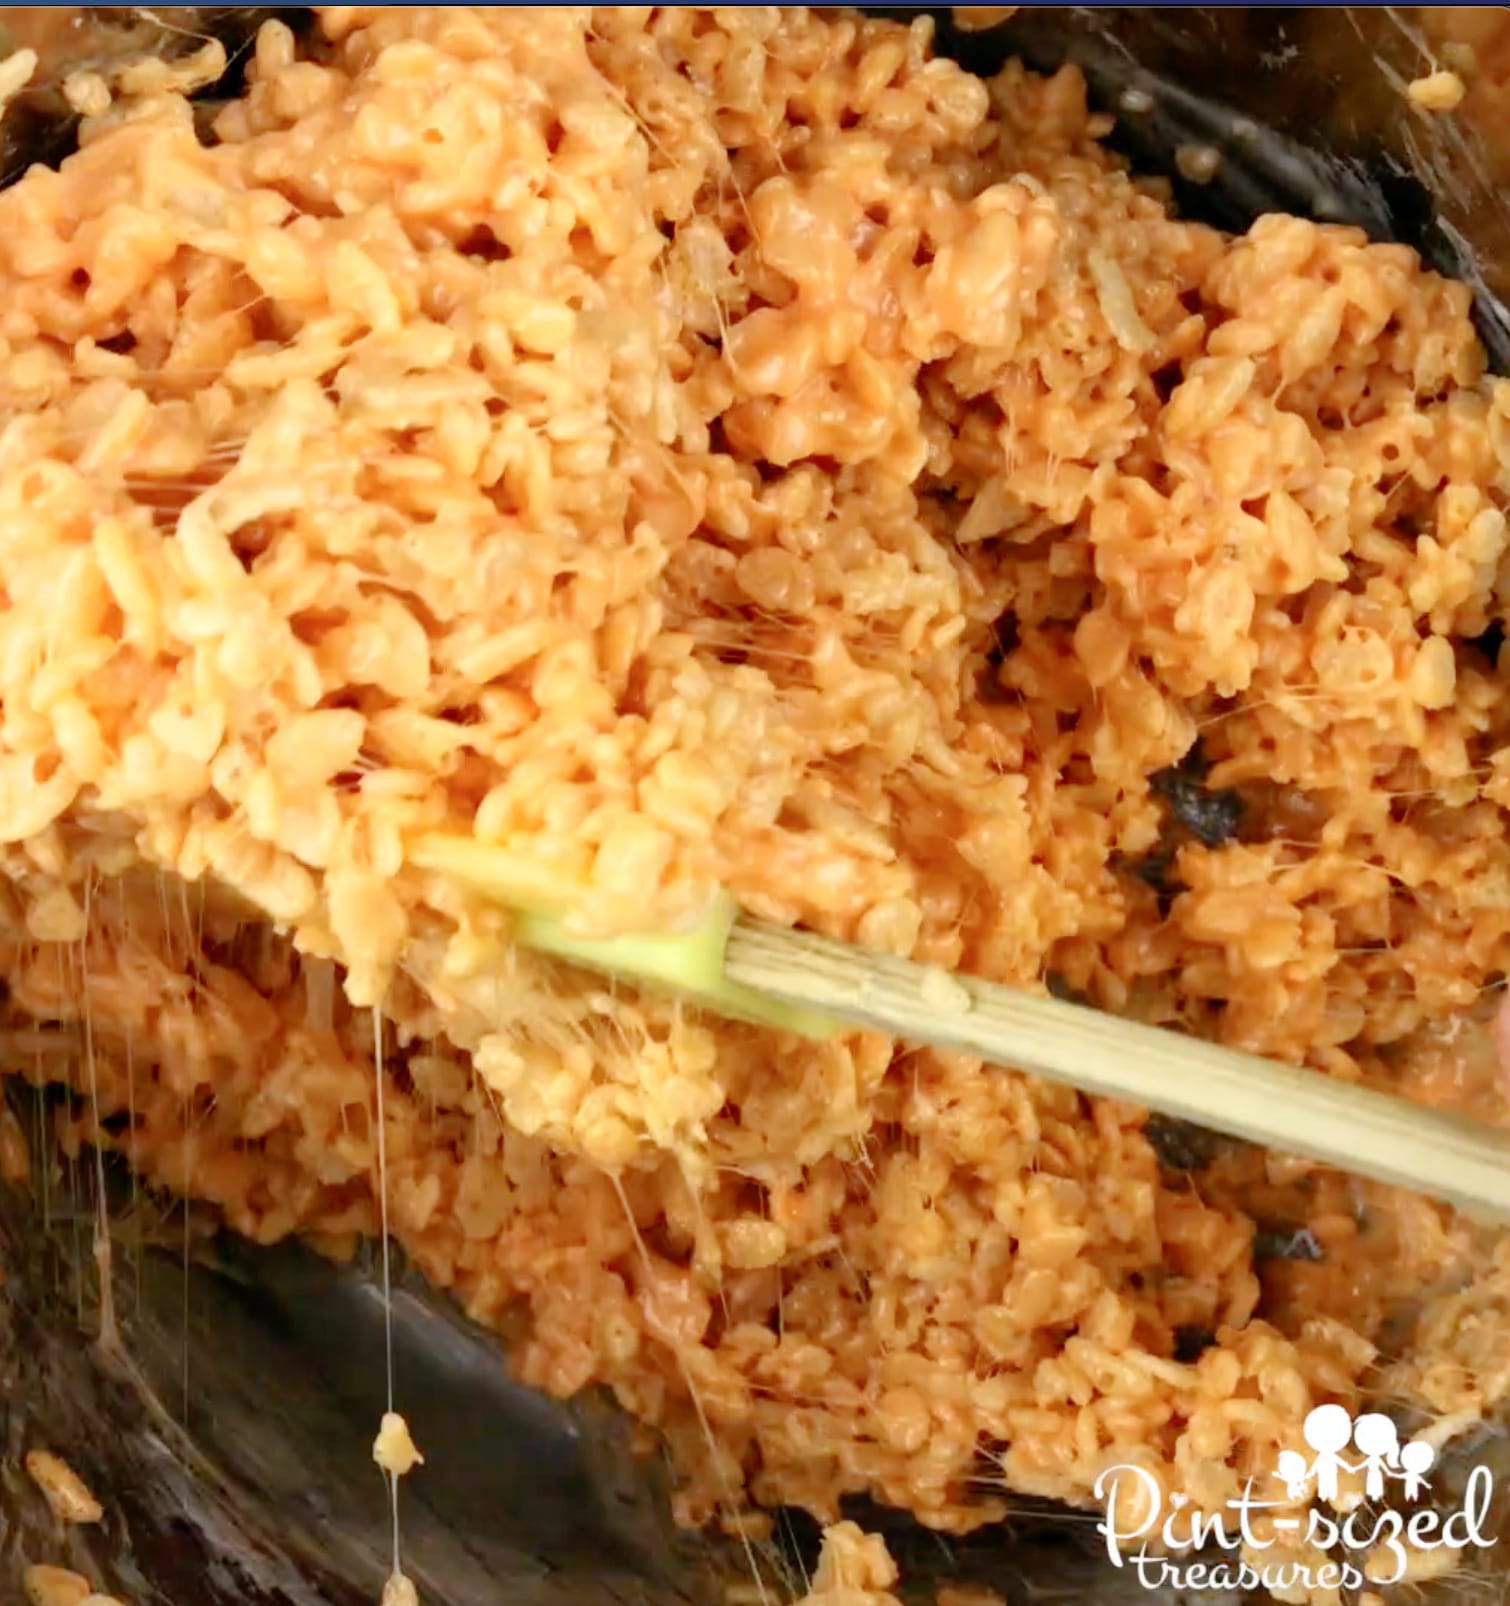
Start by making up a batch of crispy rice treats with orange coloring.
I use a gel coloring because it takes only a few drops to get a vibrant color.
And the less food coloring, the better food tastes.
Just one reason why I avoid dark red and black frosting…it almost always tastes horrible!
But these colors don’t because I do not want to mess up your super-cute, and candy-corn, inspired rice krispie treat.
That would totally give you a bad day.
Allow the treats to set, cut, and then dip in melted chocolate.
Try not to eat any during this process…ha!
When Making The Rice Krispy Treats…
There’s one very important rice krispy making tip you have to know.
Ready?
Lean in and listen closely.
Do NOT pack the rice krispie treats down into the baking pan.
Did you read that?
No matter what Aunt Sue told you…don’t do it!
The Better Way to Make Candy Corn Treats
Instead, use greased fingers or a greased spatula to softly…gently... spread and stretch the mixture into the pan.
Then, and only then, use a flat spatula to very gently press the mixture down.
Do not force the treats into the pan or your treats will be thin and hard.
I warned you so don’t complain if you don’t resist the urge to smoosh those treats into the pan…;0)
When Making Candy Corn Treats, Don’t Forget This!
Oh! Special note here!
Be sure to use a candy coating chocolate (AKA Candy melts. You can find them here.) otherwise you’ll need to either temper the chocolate or keep the treats in the refrigerator.
That could get a bit complicated, and we’re going for simple!
This kind of chocolate coating doesn’t require tempering, so you can melt in the microwave, dip, and let it set.
Treats dipped in candy coating do not require refrigeration, which is perfect if you’d like to use these as party favors or easy snacking.
Learn how to give rice krispie treats as a gift here!
Ingredients Needed for Candy Corn Rice Krispie Treats
Crispy rice cereal
You can use name brand or store brand.
Mini marshmallows
Use the smaller marshmallows to ensure even melting for the treats.
Butter
We prefer salted butter over unsalted, but it’s totally up to you which one you choose.
Orange gel coloring
The gel gives you a stronger color while using less.
Dark chocolate candy coating
You can use milk chocolate if you like!
White chocolate candy coating
This gives the contrasting color to make these look just like candy corn!
How to Make Candy Corn Rice Krispy Treats
- Step 1: In a large pot over medium heat, melt the butter.
- Step 2: Add the mini marshmallows and stir constantly until the marshmallows have melted.
- Step 3: Stir in a few drops of orange coloring and remove the pot from the heat.
- Step 4: Mix in the cereal, being sure to stir until well coated.
- Step 5: Press the treats into a buttered 11×13″ baking dish to set.
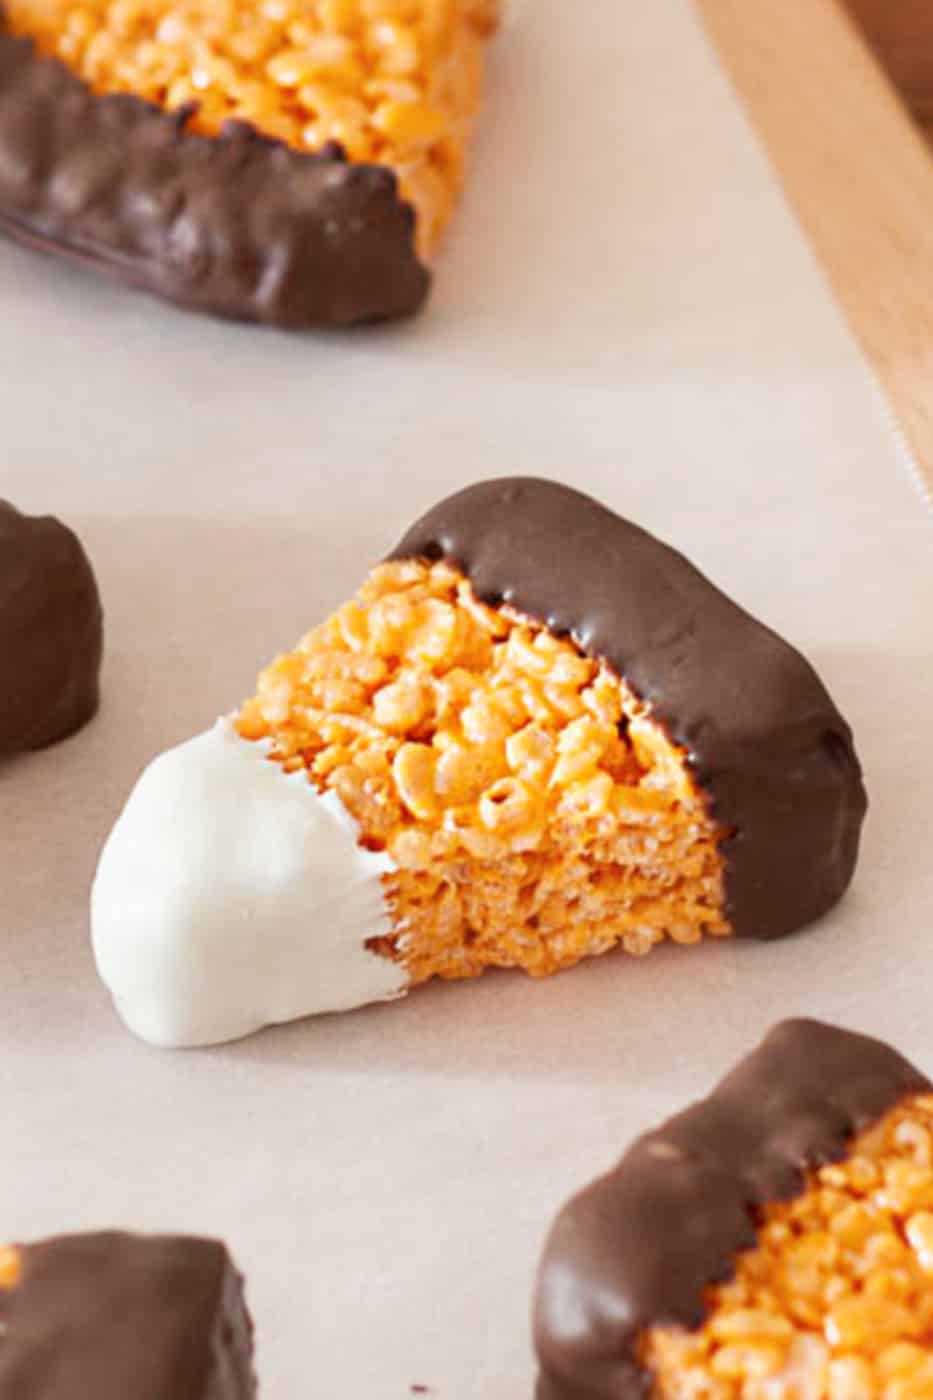
- Step 6: Once the treats have set, cut them into triangles and use your hand to gently round the corners for a more realistic look.
- Step 7: Melt the candy coating according to the package instructions.
- Step 8: Set out a silicone baking mat or wax paper.
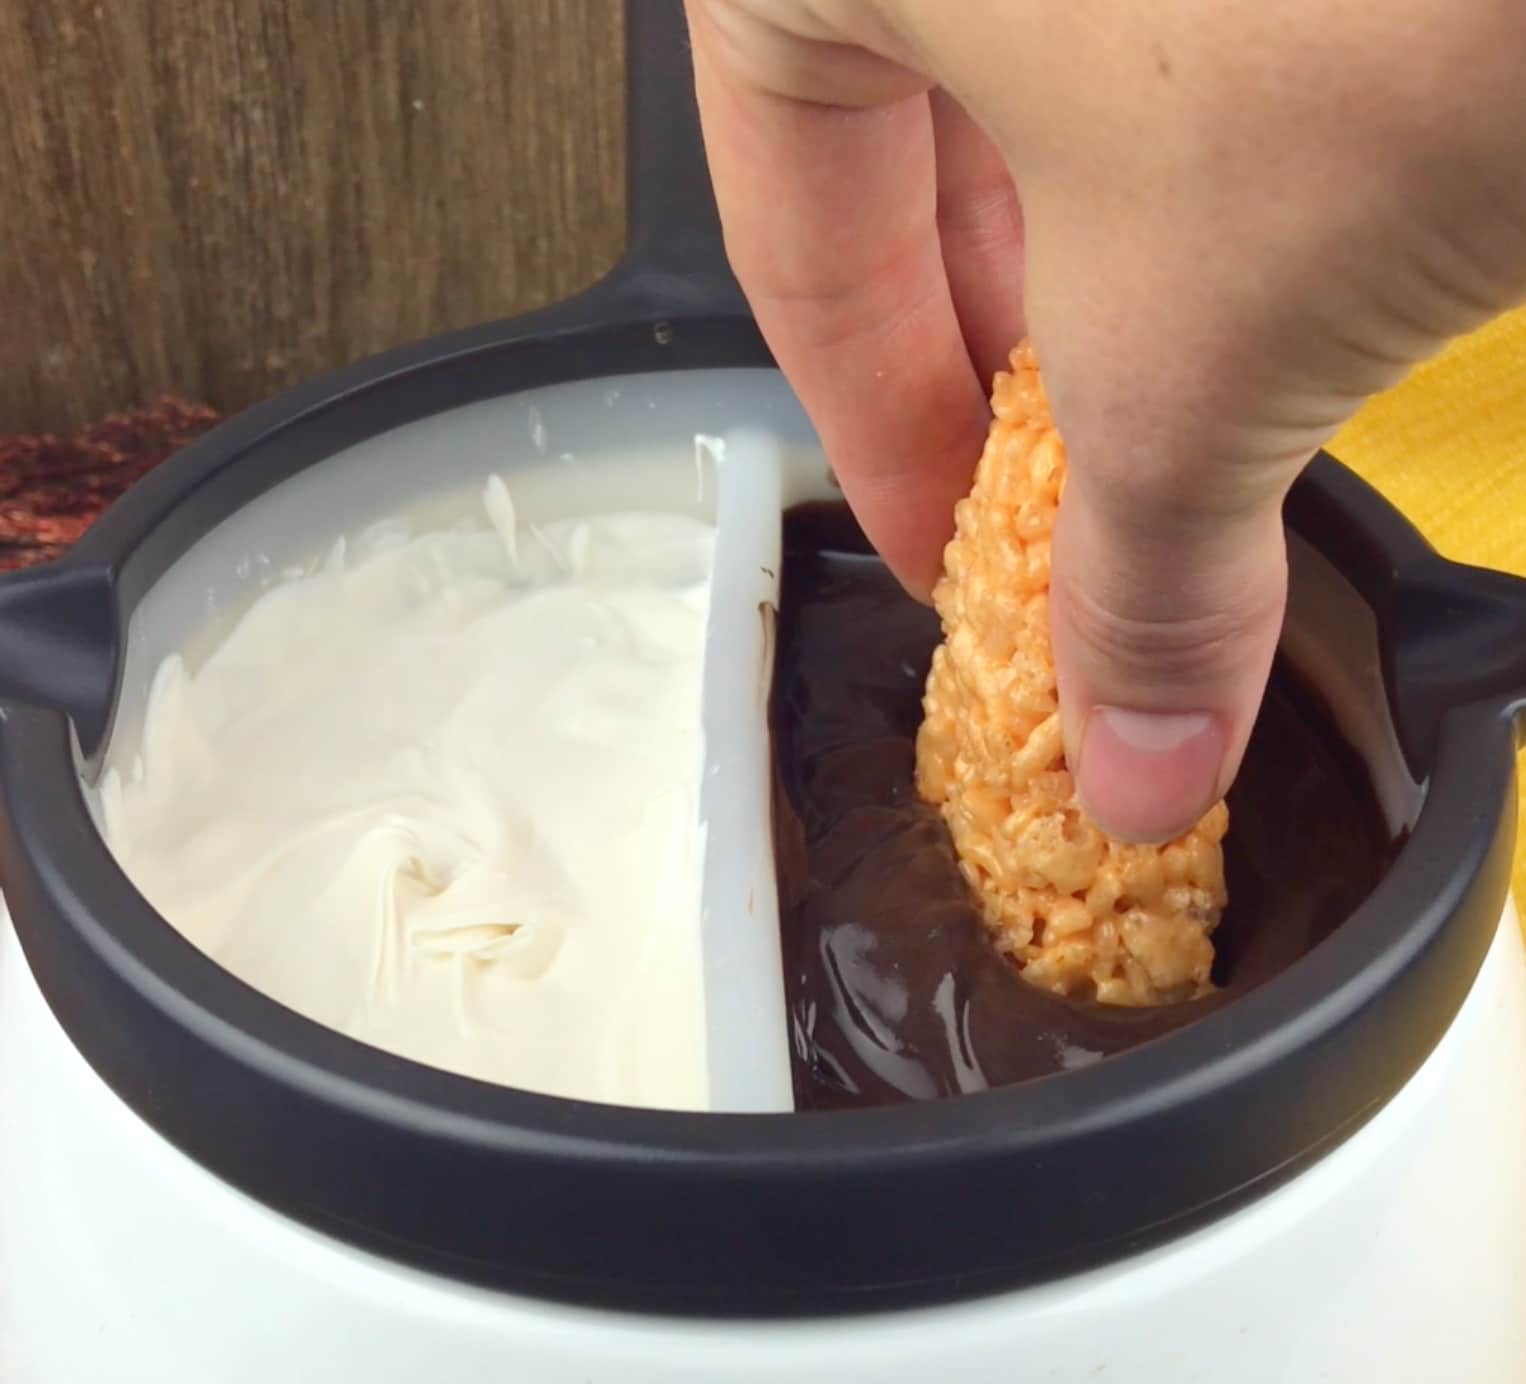
- Step 9: Dip the base of your treat triangle into the dark chocolate, shaking off the excess, then dip the top into the white candy coating.
- Step 10:Place the treat on your mat to set.
- Step 11: Once the chocolate has set, store the treats at room temperature in an airtight container up to three days.
More Rice Krispie Treats Recipes
- Snowman Rice Krispy Treats
- Shamrock Rice Krispie Treats
- Heart-shaped Rice Krispie Treats
- Strawberry-filled Rice Krispie Treats
Looking for More Easy, Family Recipes?
We have two cook books that are perfect for busy families.
God ahead and grab the dessert version below. You’ll love making sweets with your family!
Grab the book here!
Be sure to check out the video below or recipe for step-by-step instructions!
Now the only question is, with whom will you make these treats?
Chocolate Candy Corn Rice Krispie Treats Recipe is Below!
Print, make and eat!
Print
Chocolate Dipped Candy Corn Rice Crispy Treats
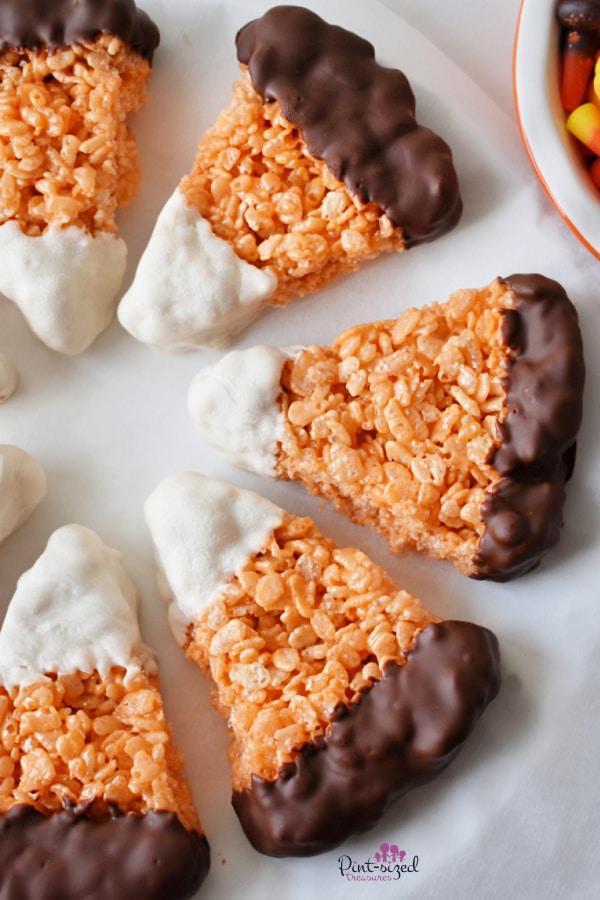
Chocolate-dipped candy corn rice crispy treats that are festive, fun, and a cinch to make! Perfect for your next fall party or Halloween bash!
- Prep Time 5 mins
- Inactive Time 0 hrs
- Cook Time 10 mins
- Total Time 15 mins
- Yield 16 treats 1x
- Category Desserts
- Cuisine American
Ingredients
- 6 cup crispy rice cereal
- 6 cup mini marshmallows
- 5 tbsp butter
- orange gel coloring
- dark chocolate candy coating
- white chocolate candy coating
Instructions
- In a large pot over medium heat, melt the butter.
- Add the mini marshmallows and stir constantly until the marshmallows have melted. Stir in a few drops of orange coloring and remove the pot from the heat.
- Mix in the cereal, being sure to stir until well coated. Press the treats into a buttered 11×13″ baking dish to set.
- Once the treats have set, cut them into triangles and use your hand to gently round the corners for a more realistic look.
- Melt the candy coating according to the package instructions. Set out a silicone baking mat or wax paper.
- Dip the base of your treat triangle into the dark chocolate, shaking off the excess, then dip the top into the white candy coating. Place the treat on your mat to set.
- Once the chocolate has set, store the treats at room temperature in an airtight container up to three days.
Notes
[recipe][recipe][recipe]
Nutrition
- Serving Size: 1 grams
- Calories: 290
- Sugar: 30
- Sodium: 124
- Fat: 13
- Saturated Fat: 8
- Unsaturated Fat: 4
- Trans Fat: 0
- Carbohydrates: 42
- Fiber: 0
- Protein: 3
- Cholesterol: 16